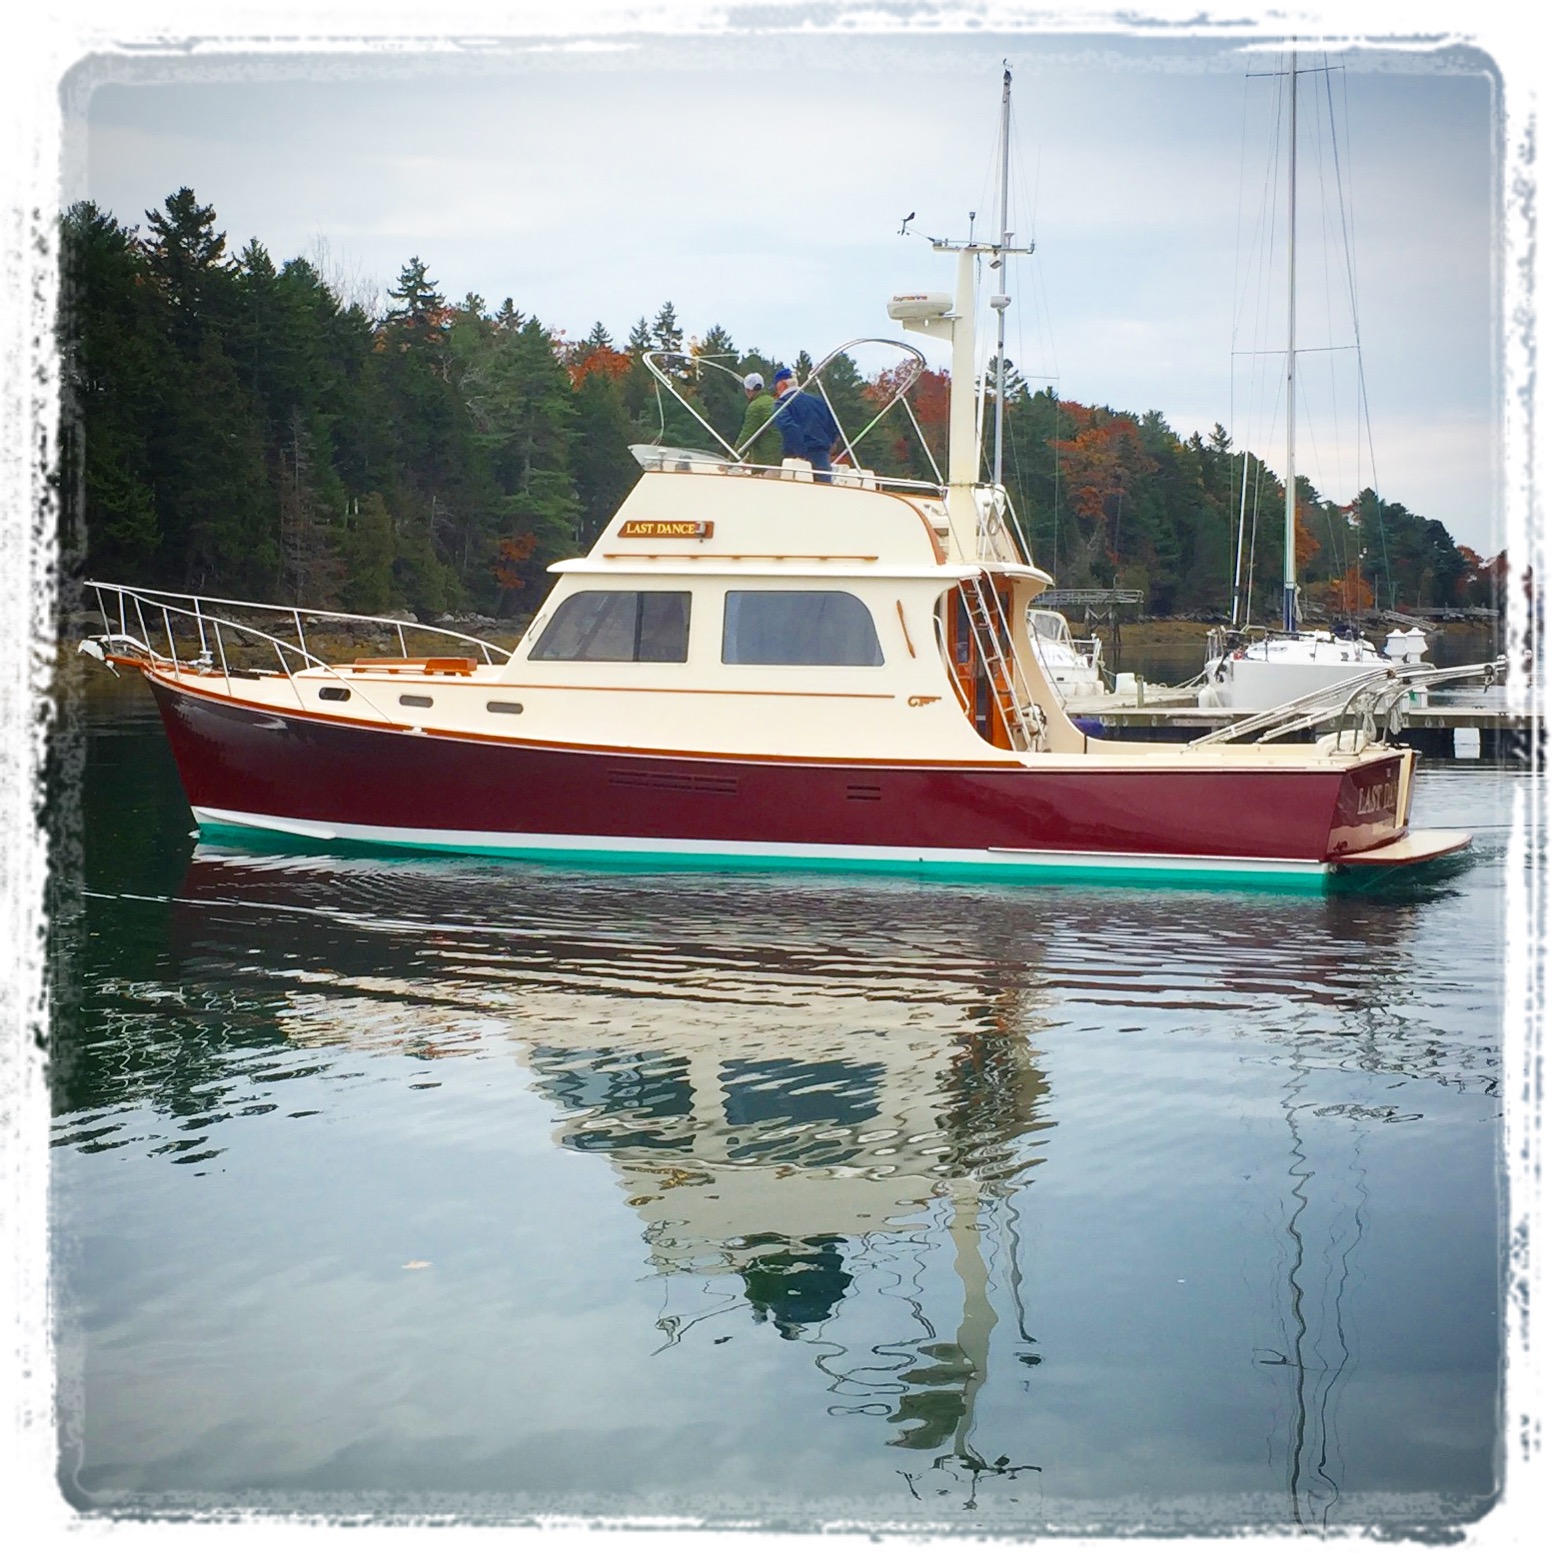
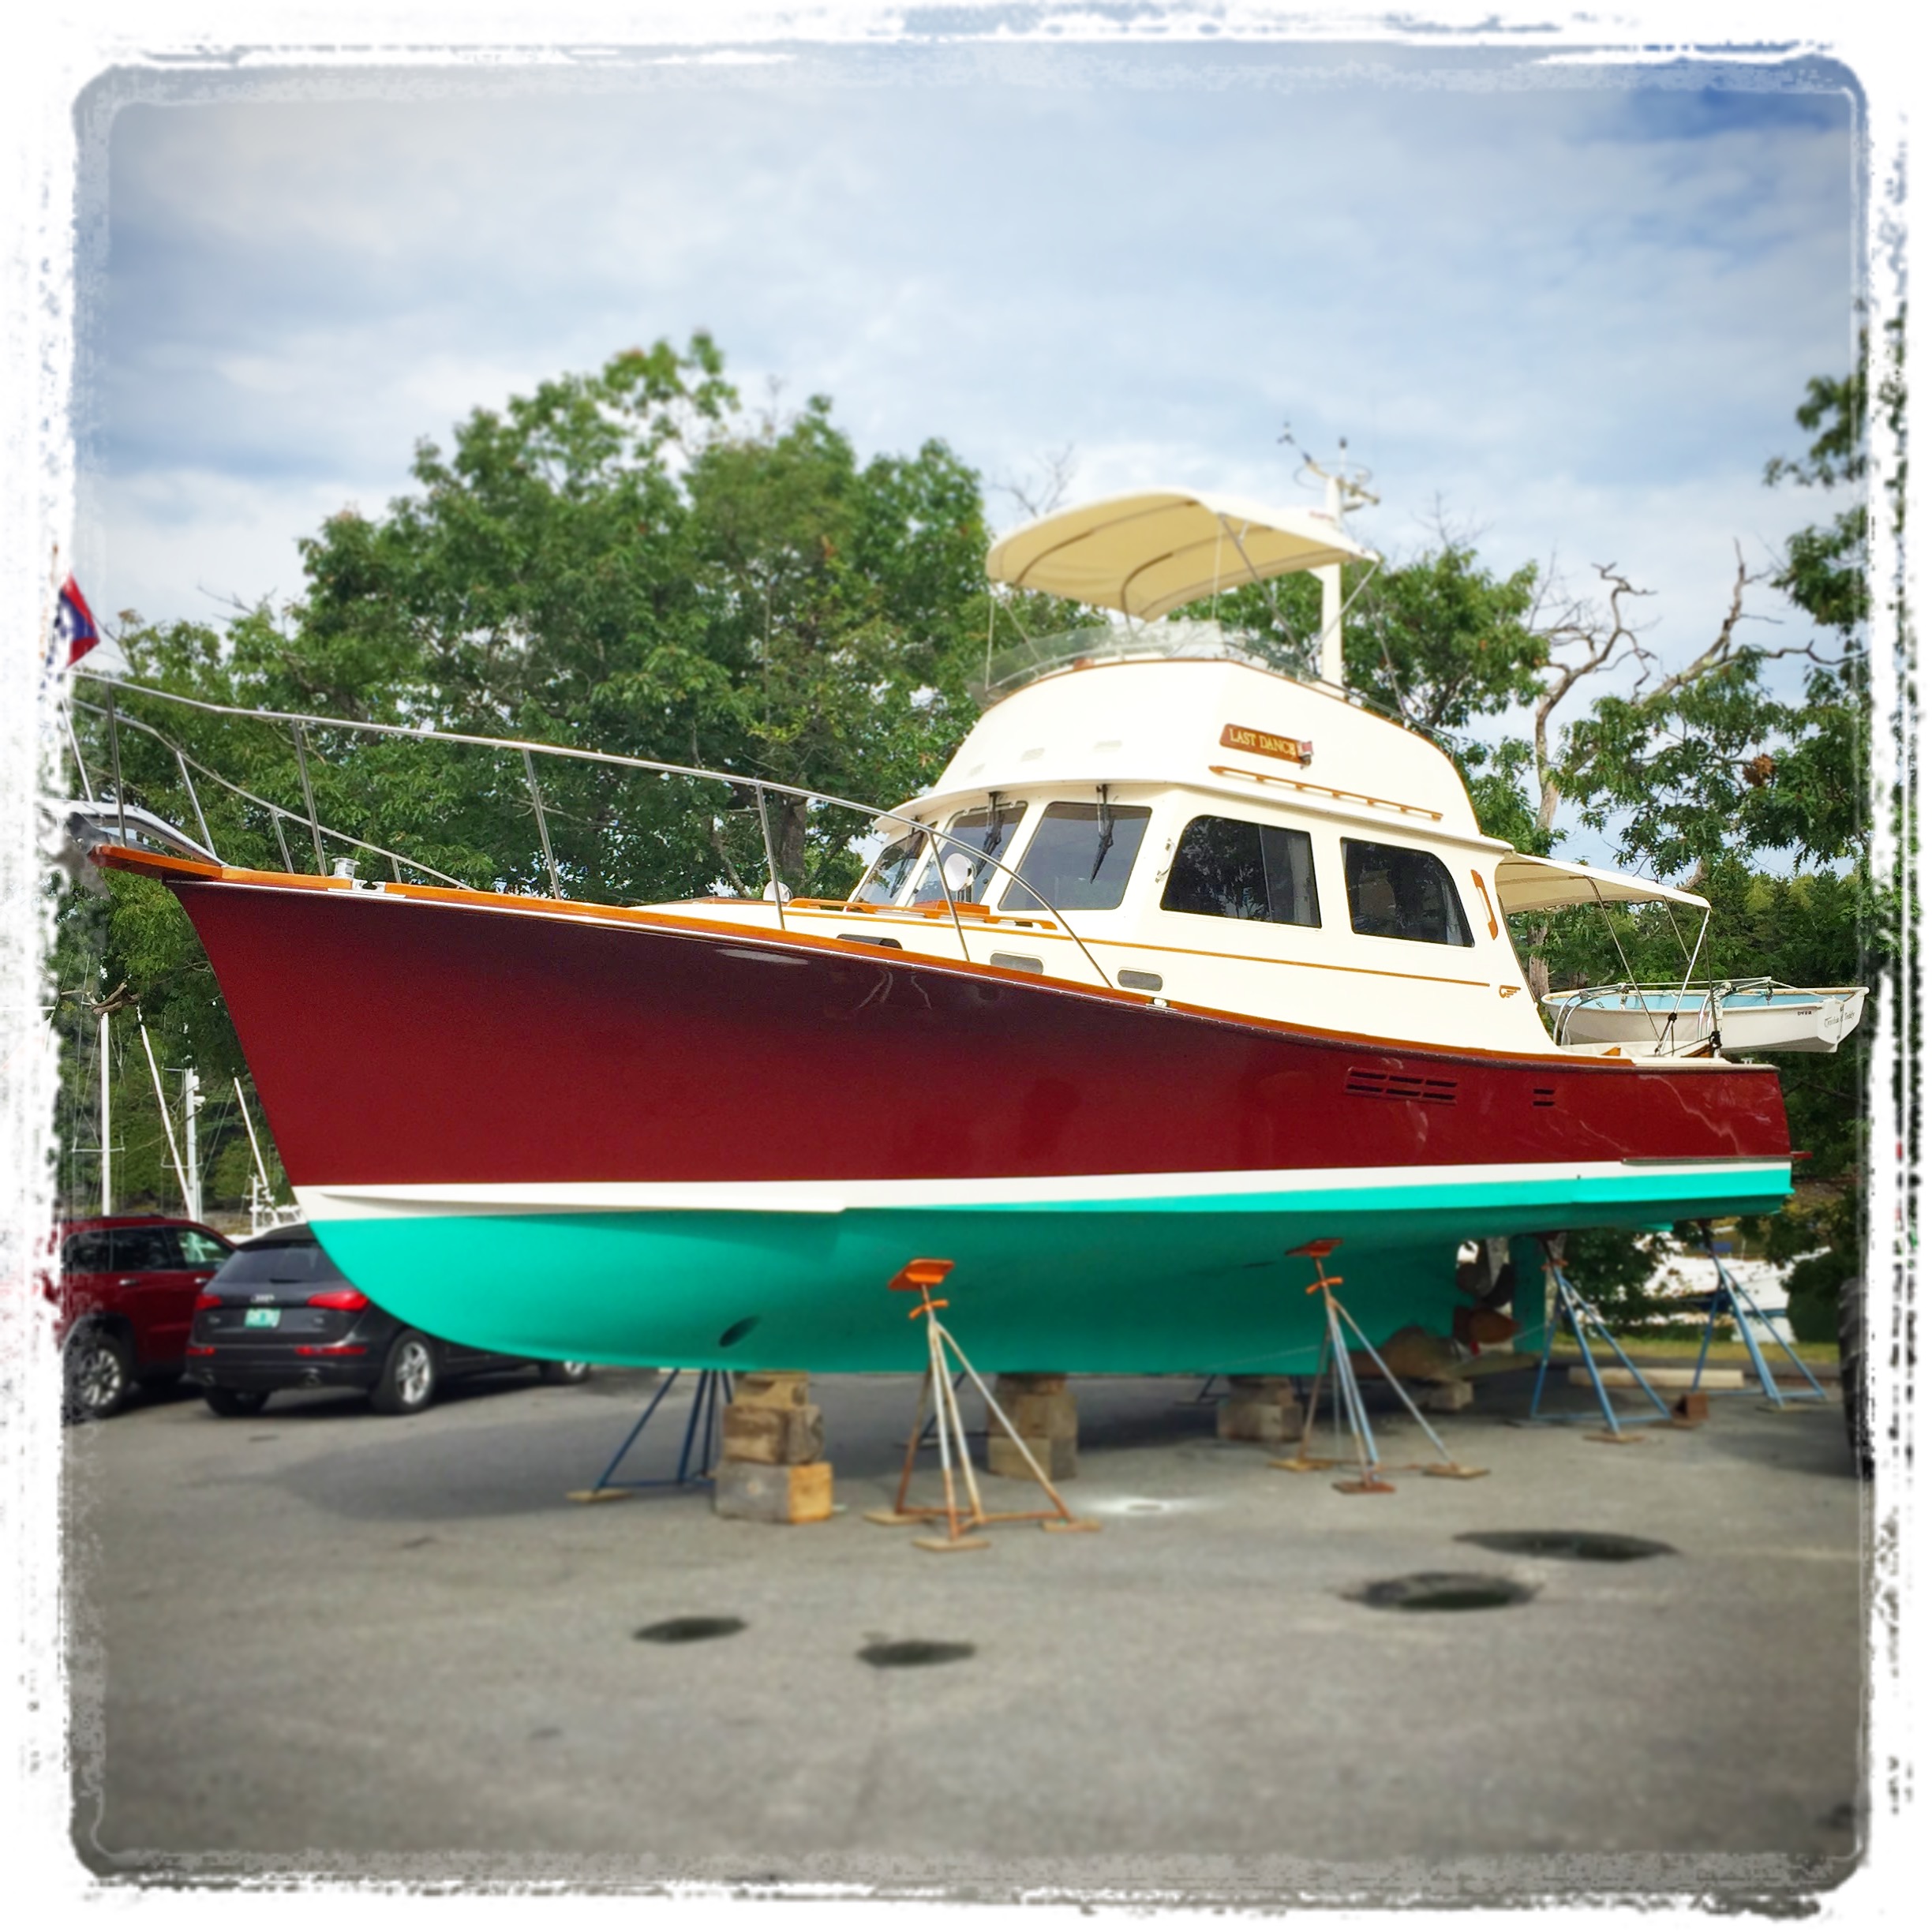
Last summer our client, David, loaned his cherished Hinckley Talaria 42 flybridge lobster yacht to a good friend to use for a weeklong cruise in Maine. That cruise could have been the “last dance” for LAST DANCE, hailing from Marblehead, Massachusetts, because it was then that she hit a solo rock at 12 knots! Fortunately, a clear plan of action had LAST DANCE back in action just eight weeks after that unfortunate encounter.
“When I got the call that my boat had struck a ledge, was taking on some water, and was being driven slowly under her own power to the nearest boat yard in Penobscot Bay, I already knew that I wanted to get her back to Great Island Boat Yard as soon as possible,” said David. “I am a veteran yacht broker and yacht captain, with 45+ years in the yachting industry. My professional experience makes me knowledgeable and very particular about boats and boat yards. Five years ago, after I purchased my boat, I chose Great Island Boat Yard to do some major renovations – including the installation of a totally new forward stateroom, a deep-maroon Awlgrip paint job, and the installation of a brand new, 500 hp, Cummins diesel engine, et cetera, et cetera – I have been a faithful client ever since! Without question, I wanted GIBY to handle the repairs on my LAST DANCE.”
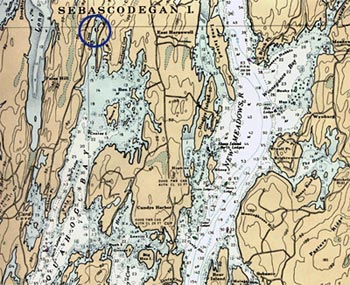
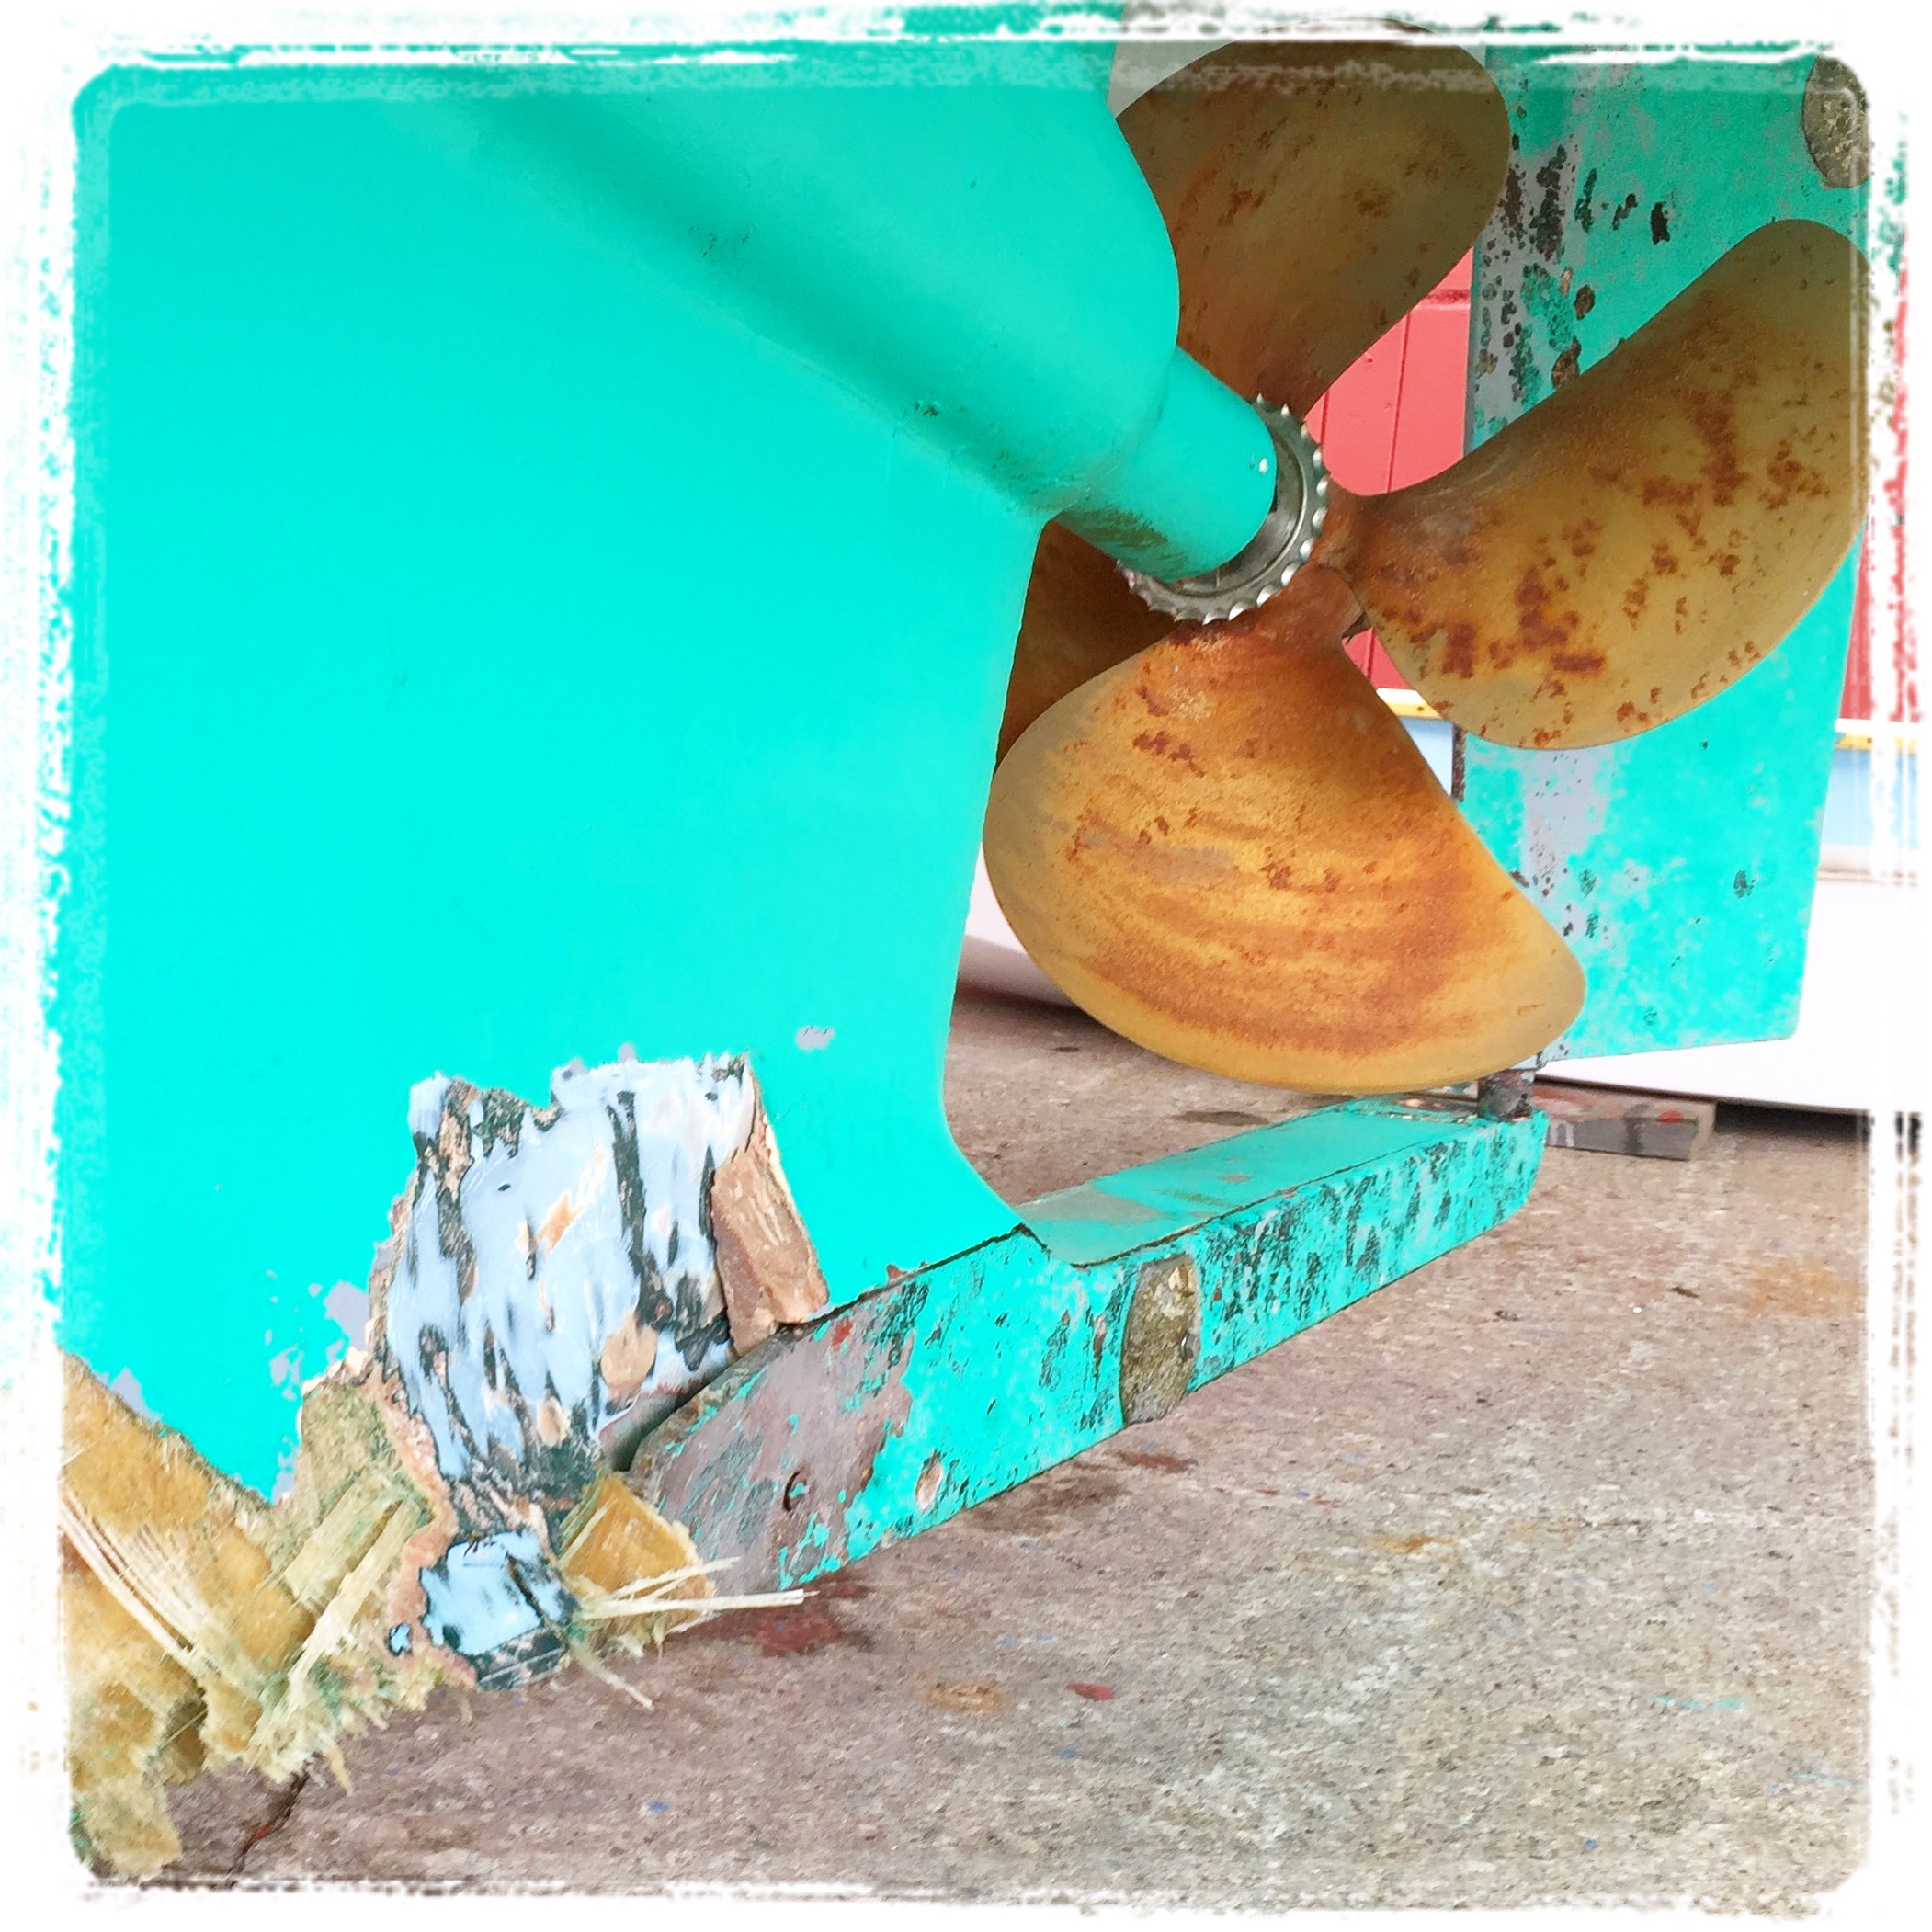
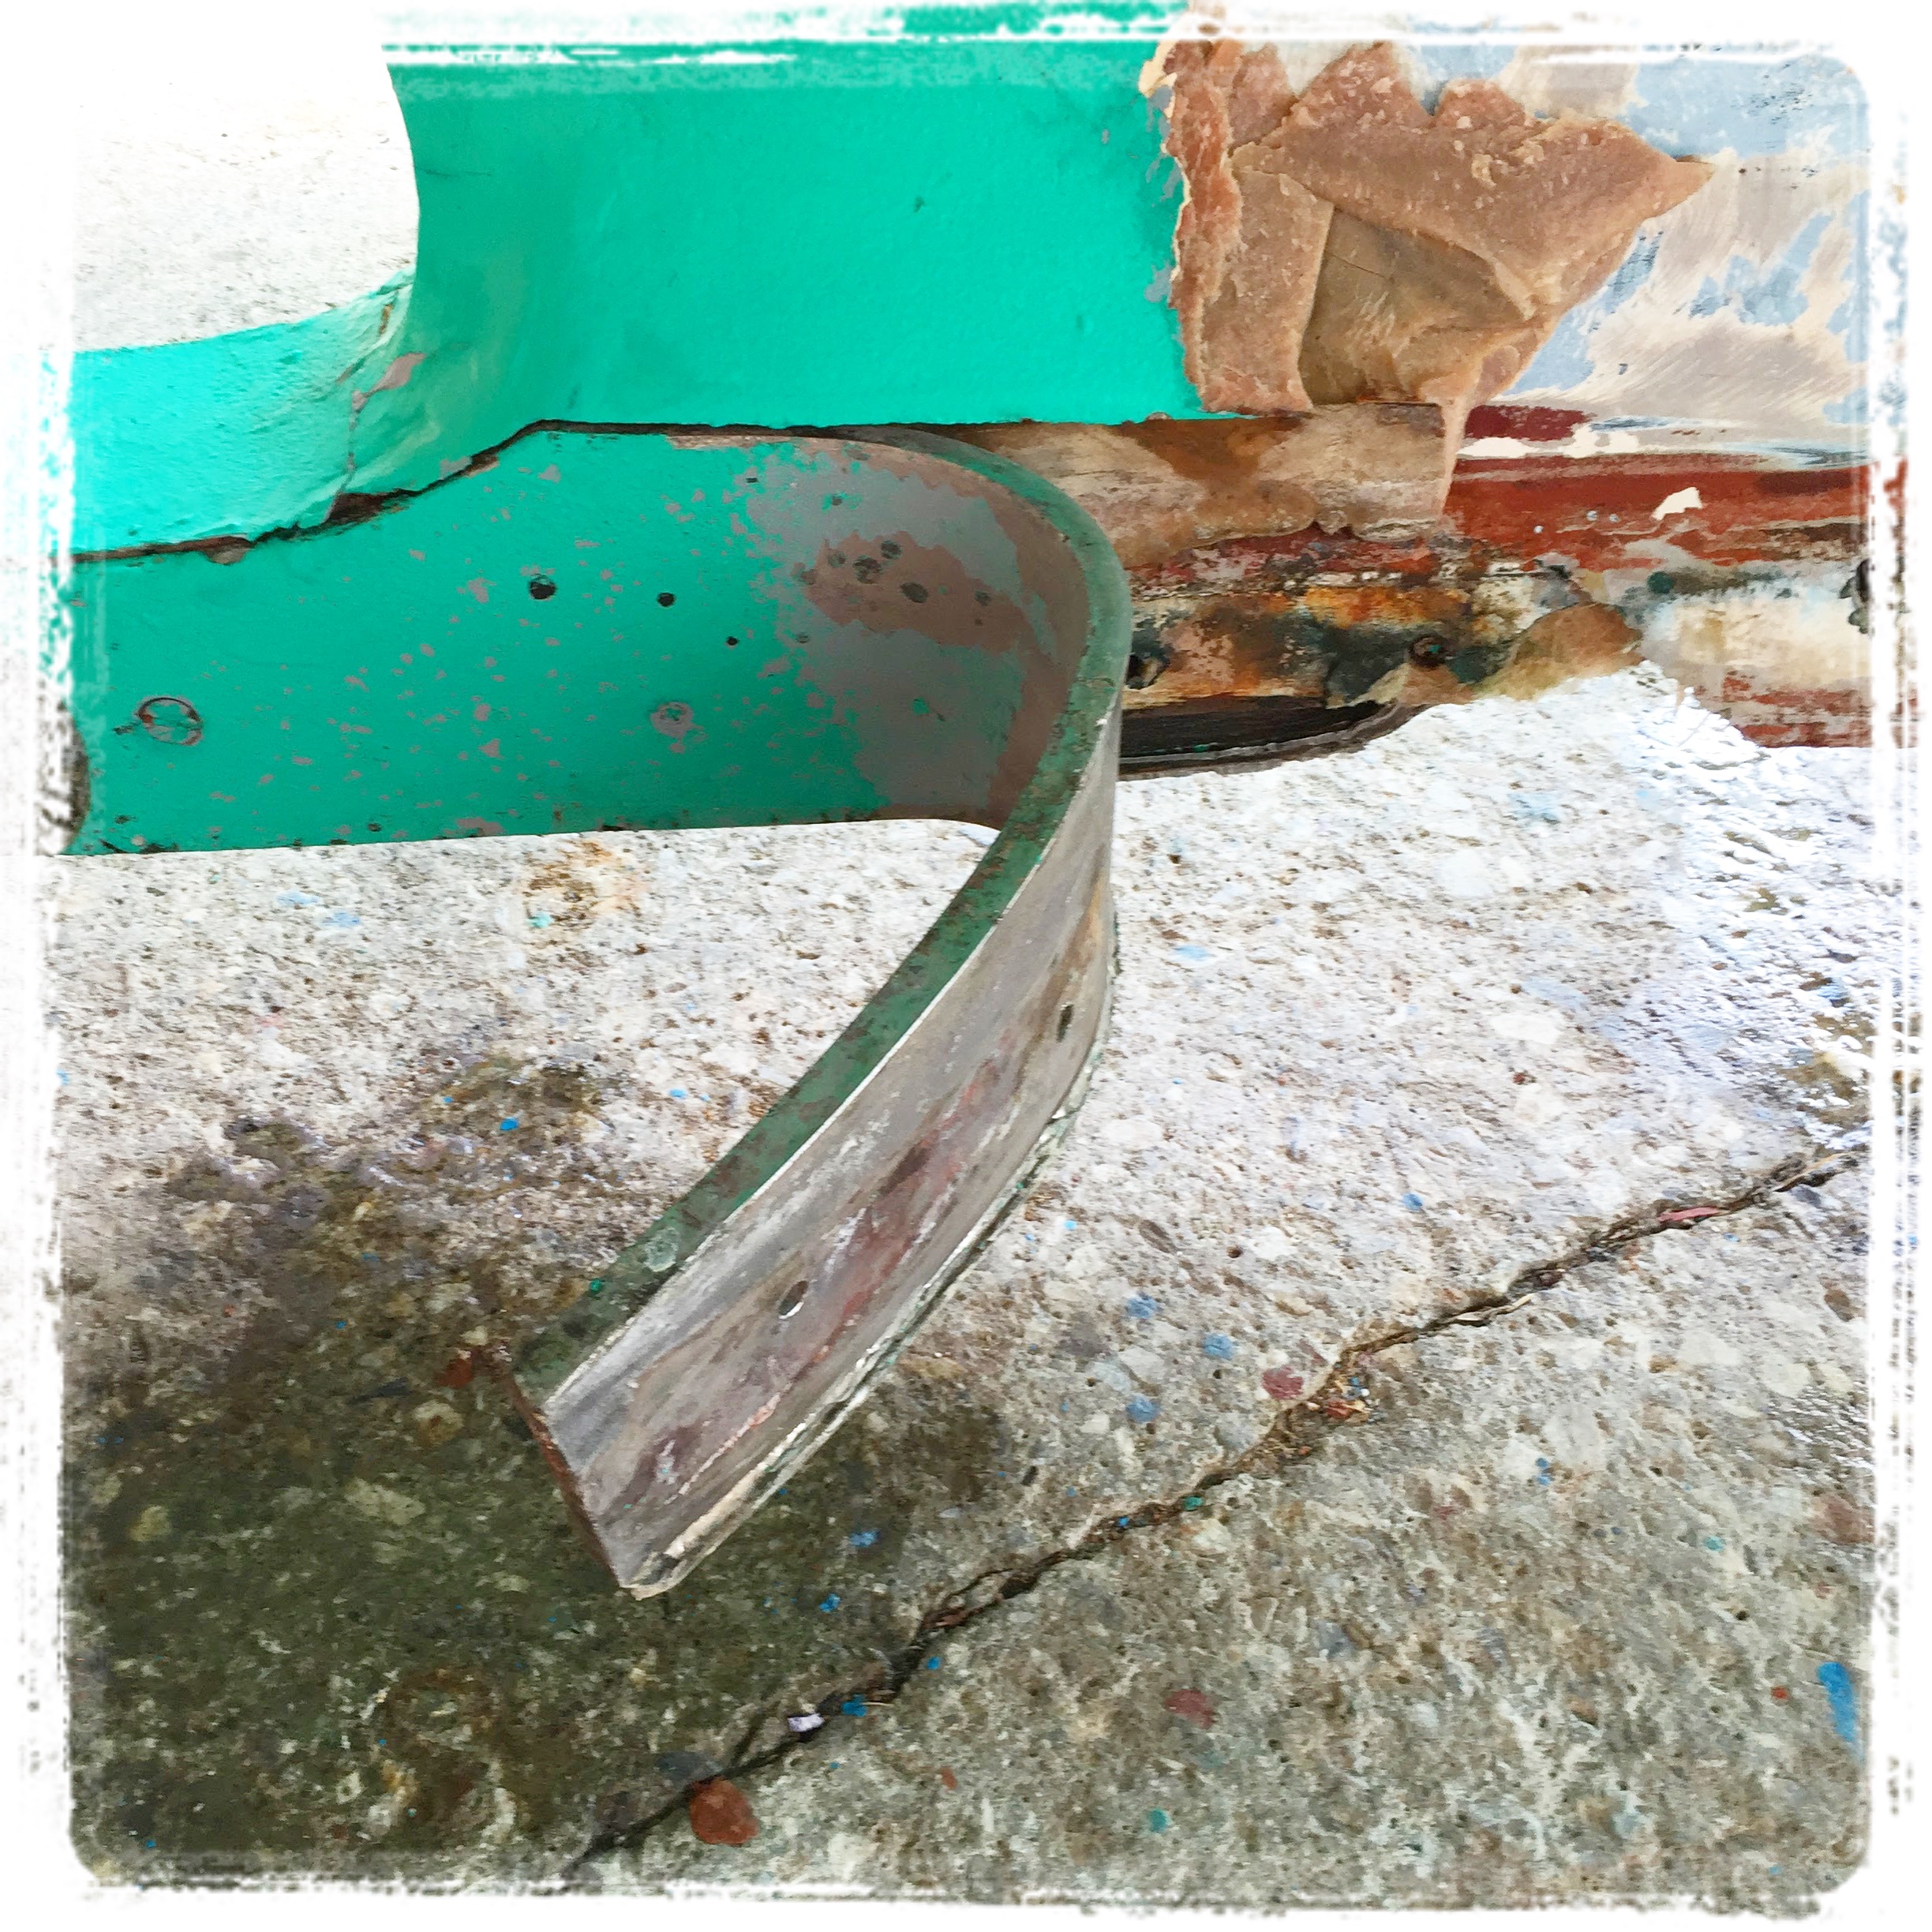
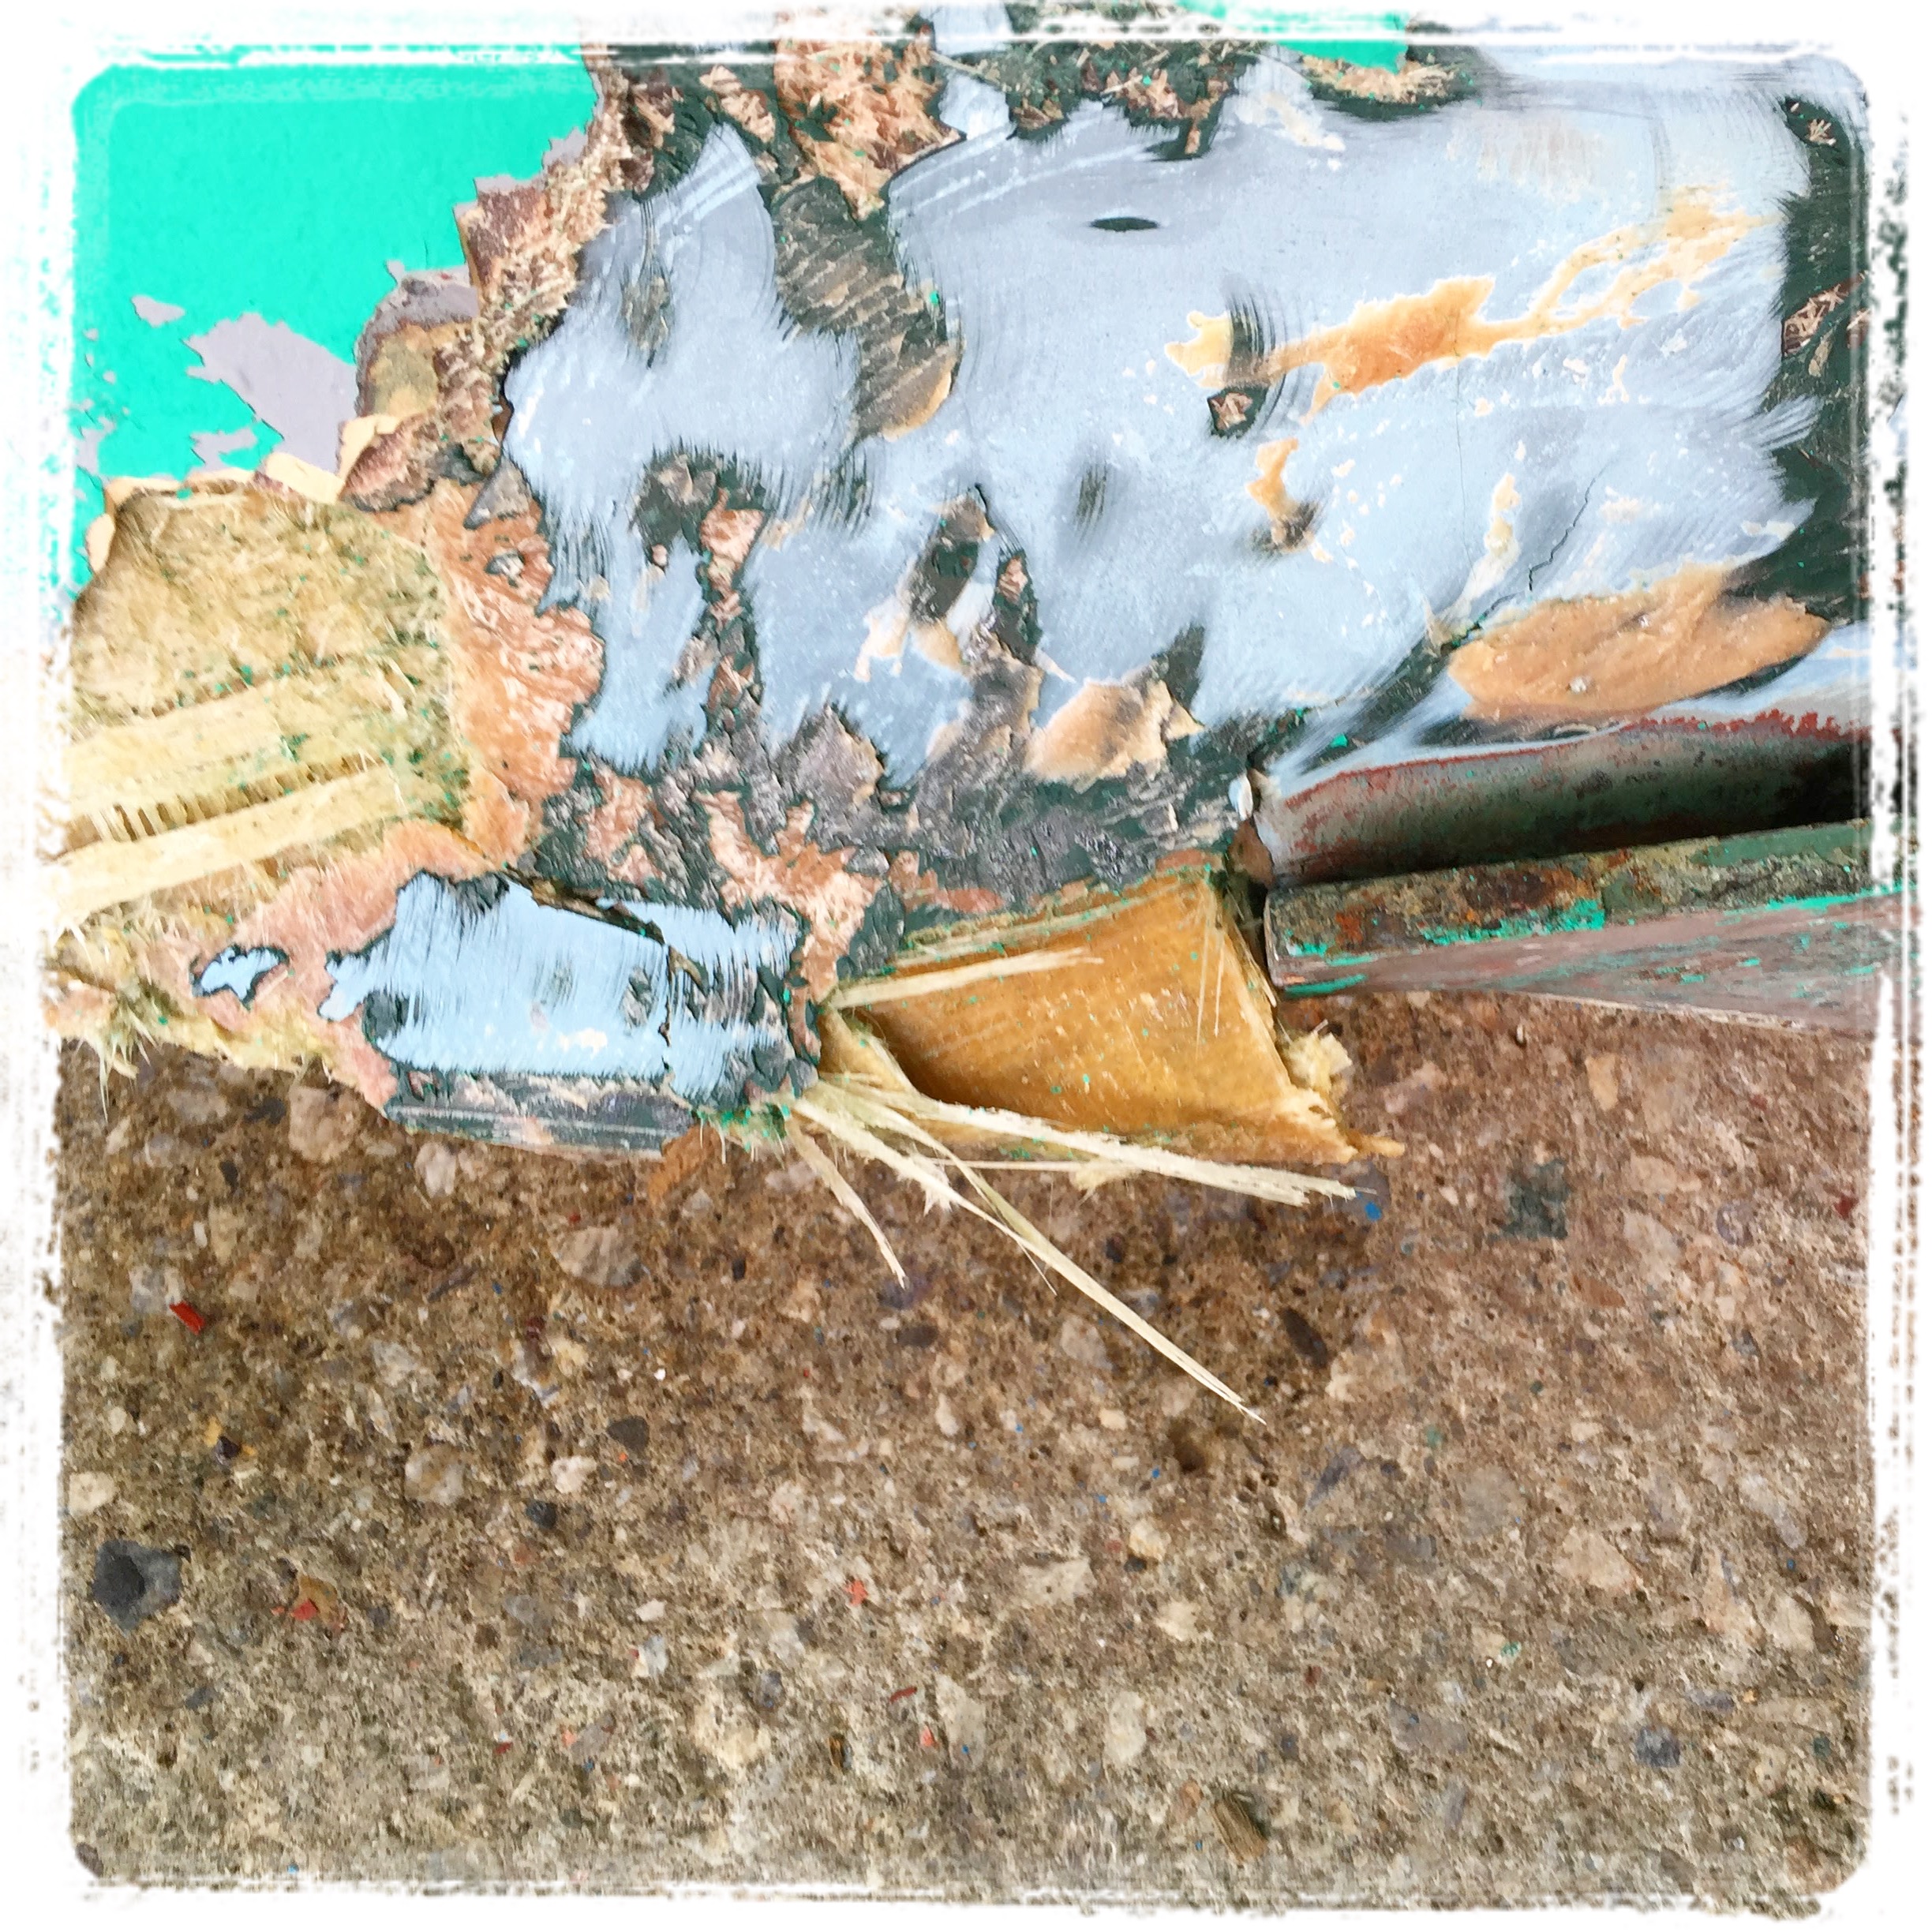
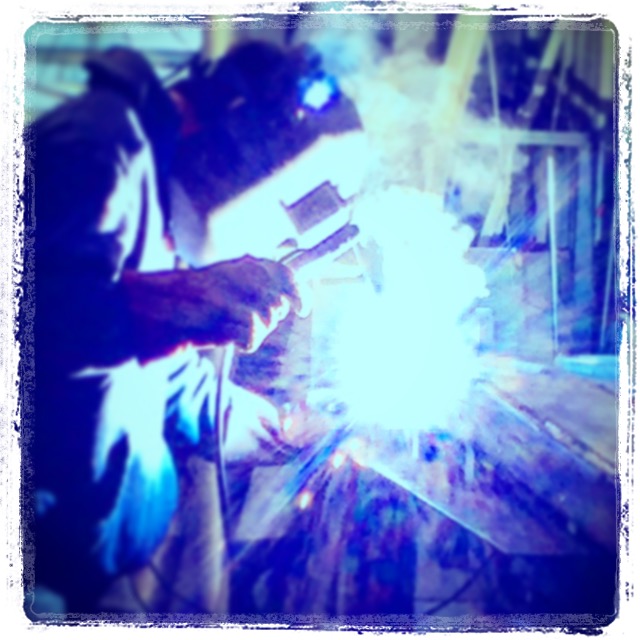
To get the boat back to Great Island Boat Yard, David had the keel temporarily patched; then he hired a local fisherman to tow his boat, by water, from Penobscot Bay to Quahog Bay! On arrival, the boat was immediately hauled. She was then resurveyed. Thermal imaging equipment was used to determine the extent of the damage done to the fiberglass. Once the official “go ahead” from the insurance company was in place, the GIBY team got to work; the repair effort was led by Glassman, Matt.
“Matt cutaway the damaged portion of the keel and skeg, then tapered into the existing glass in order to stagger the new seam. This allowed us to eliminate the fractured glass and provide a clean, straight line for the rebuild,” explained GIBY’s Operations Manager, Trevor.
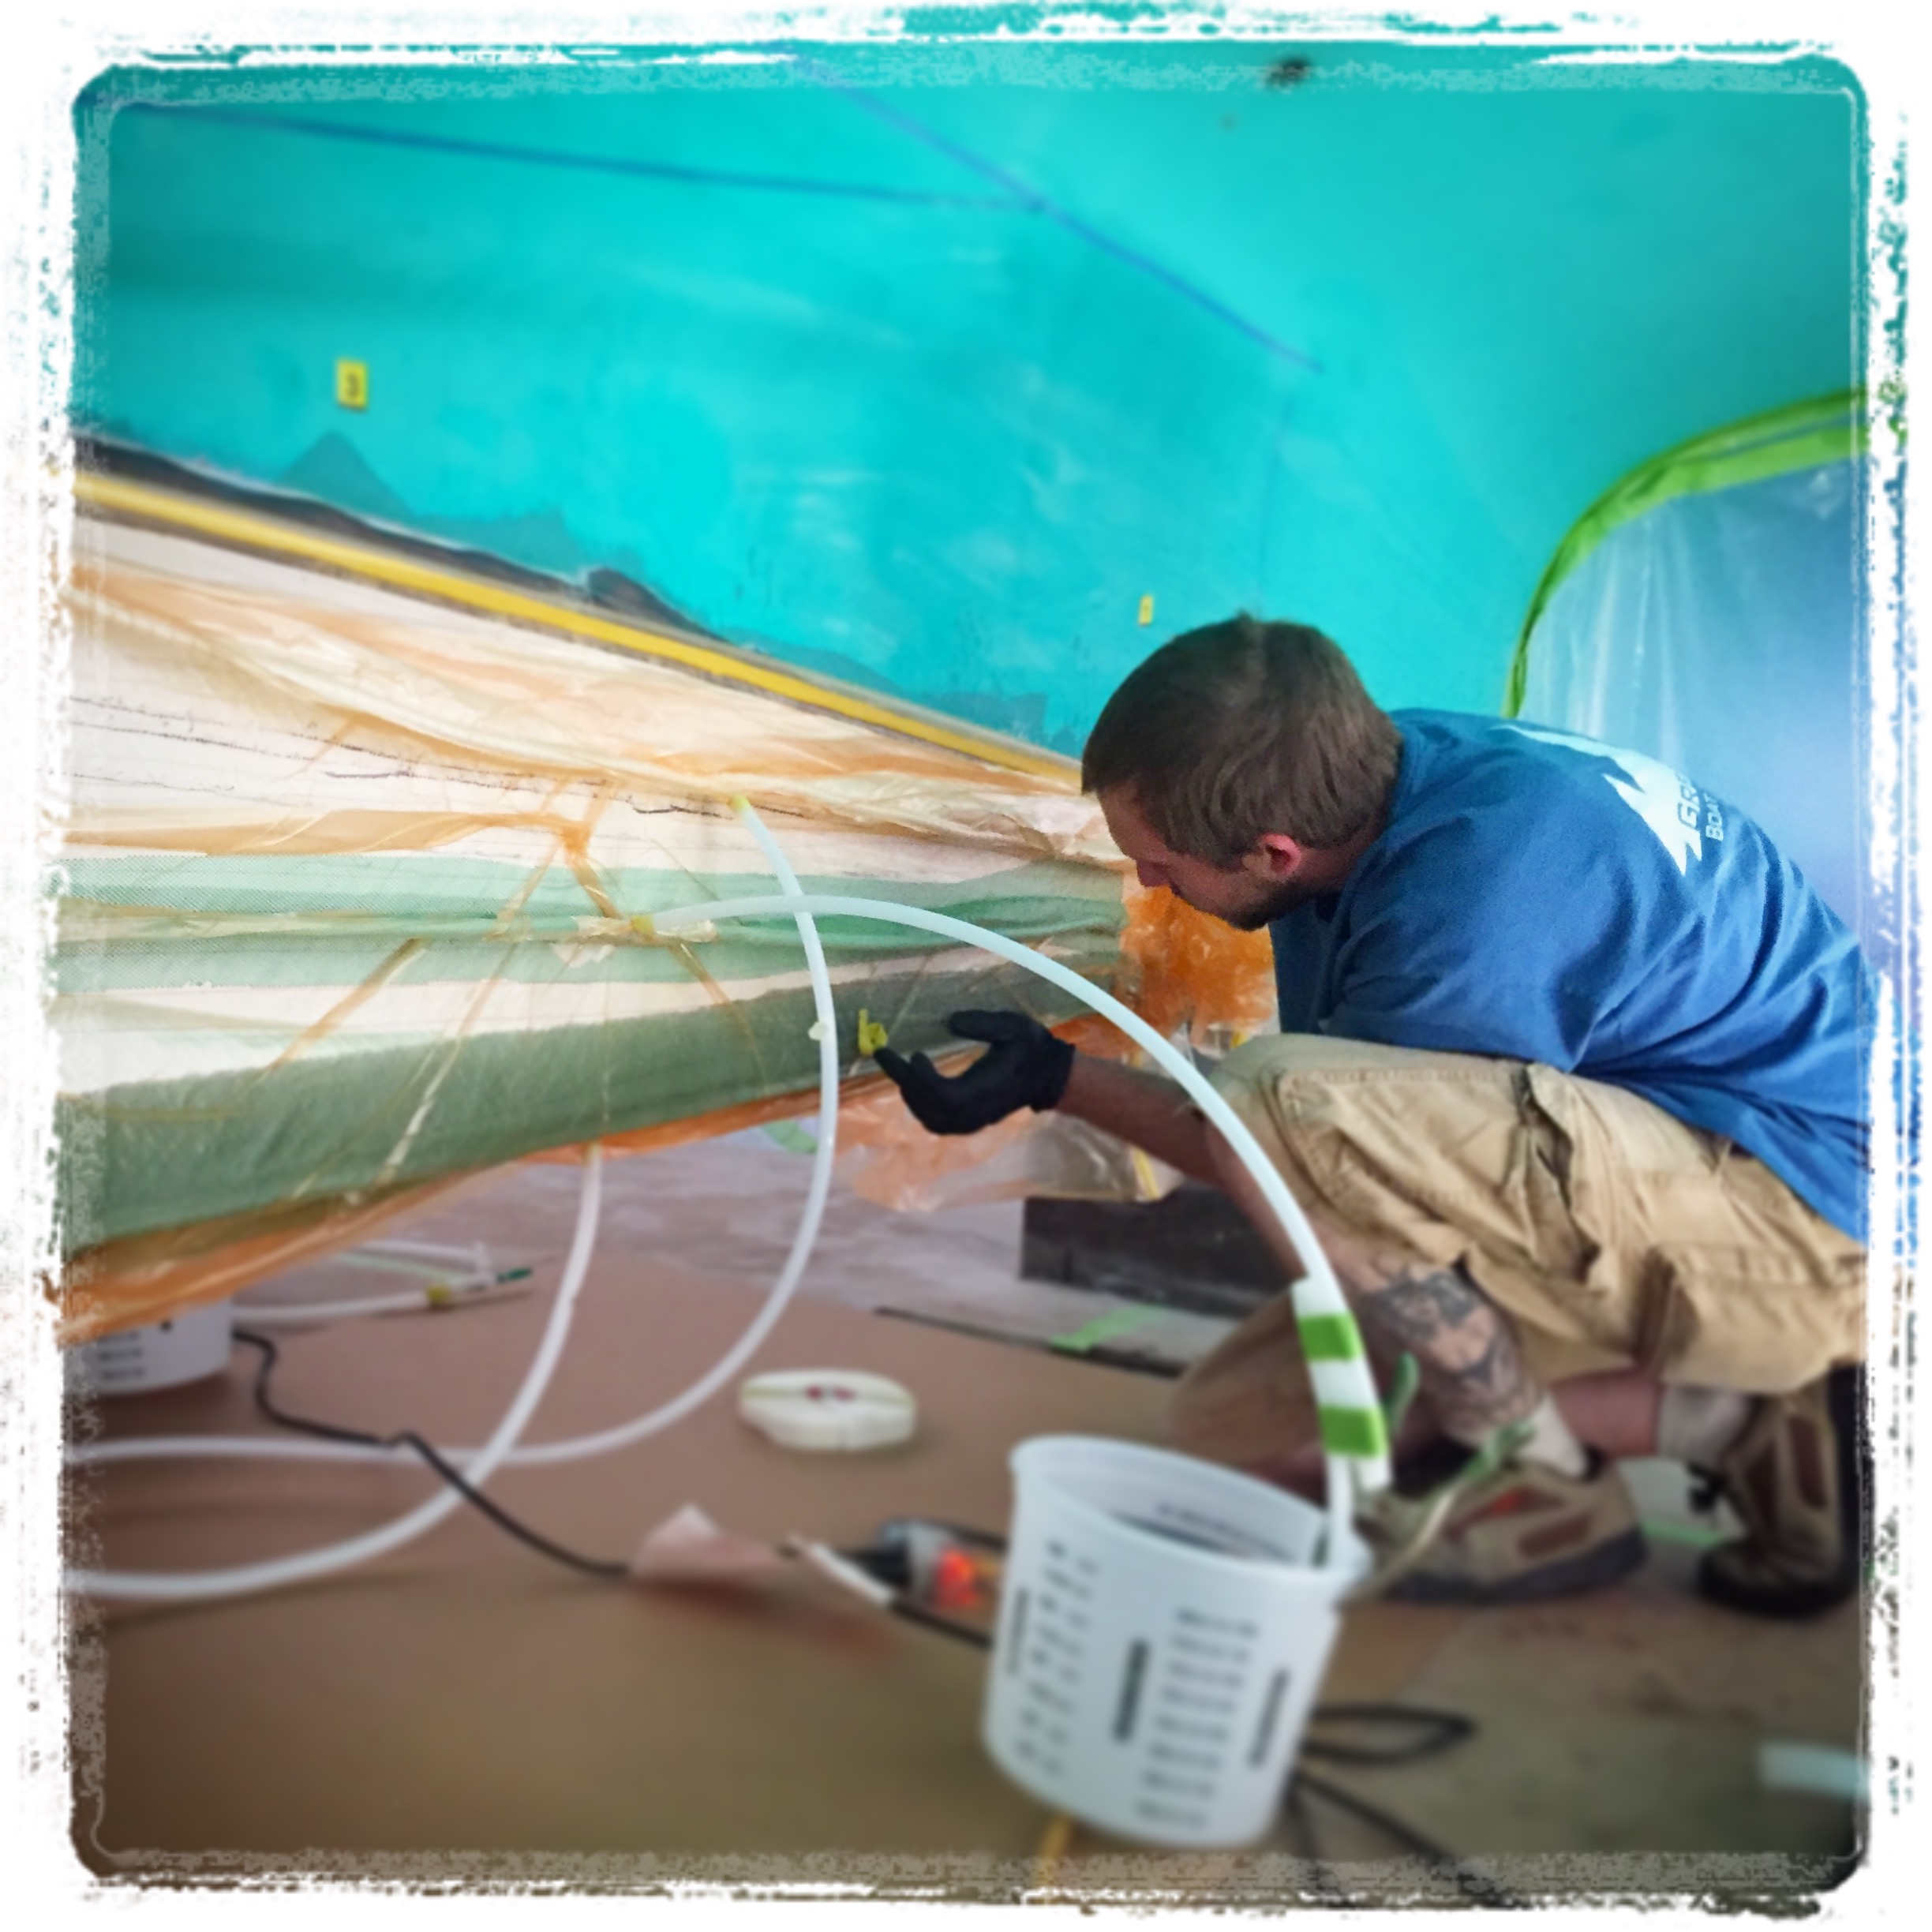
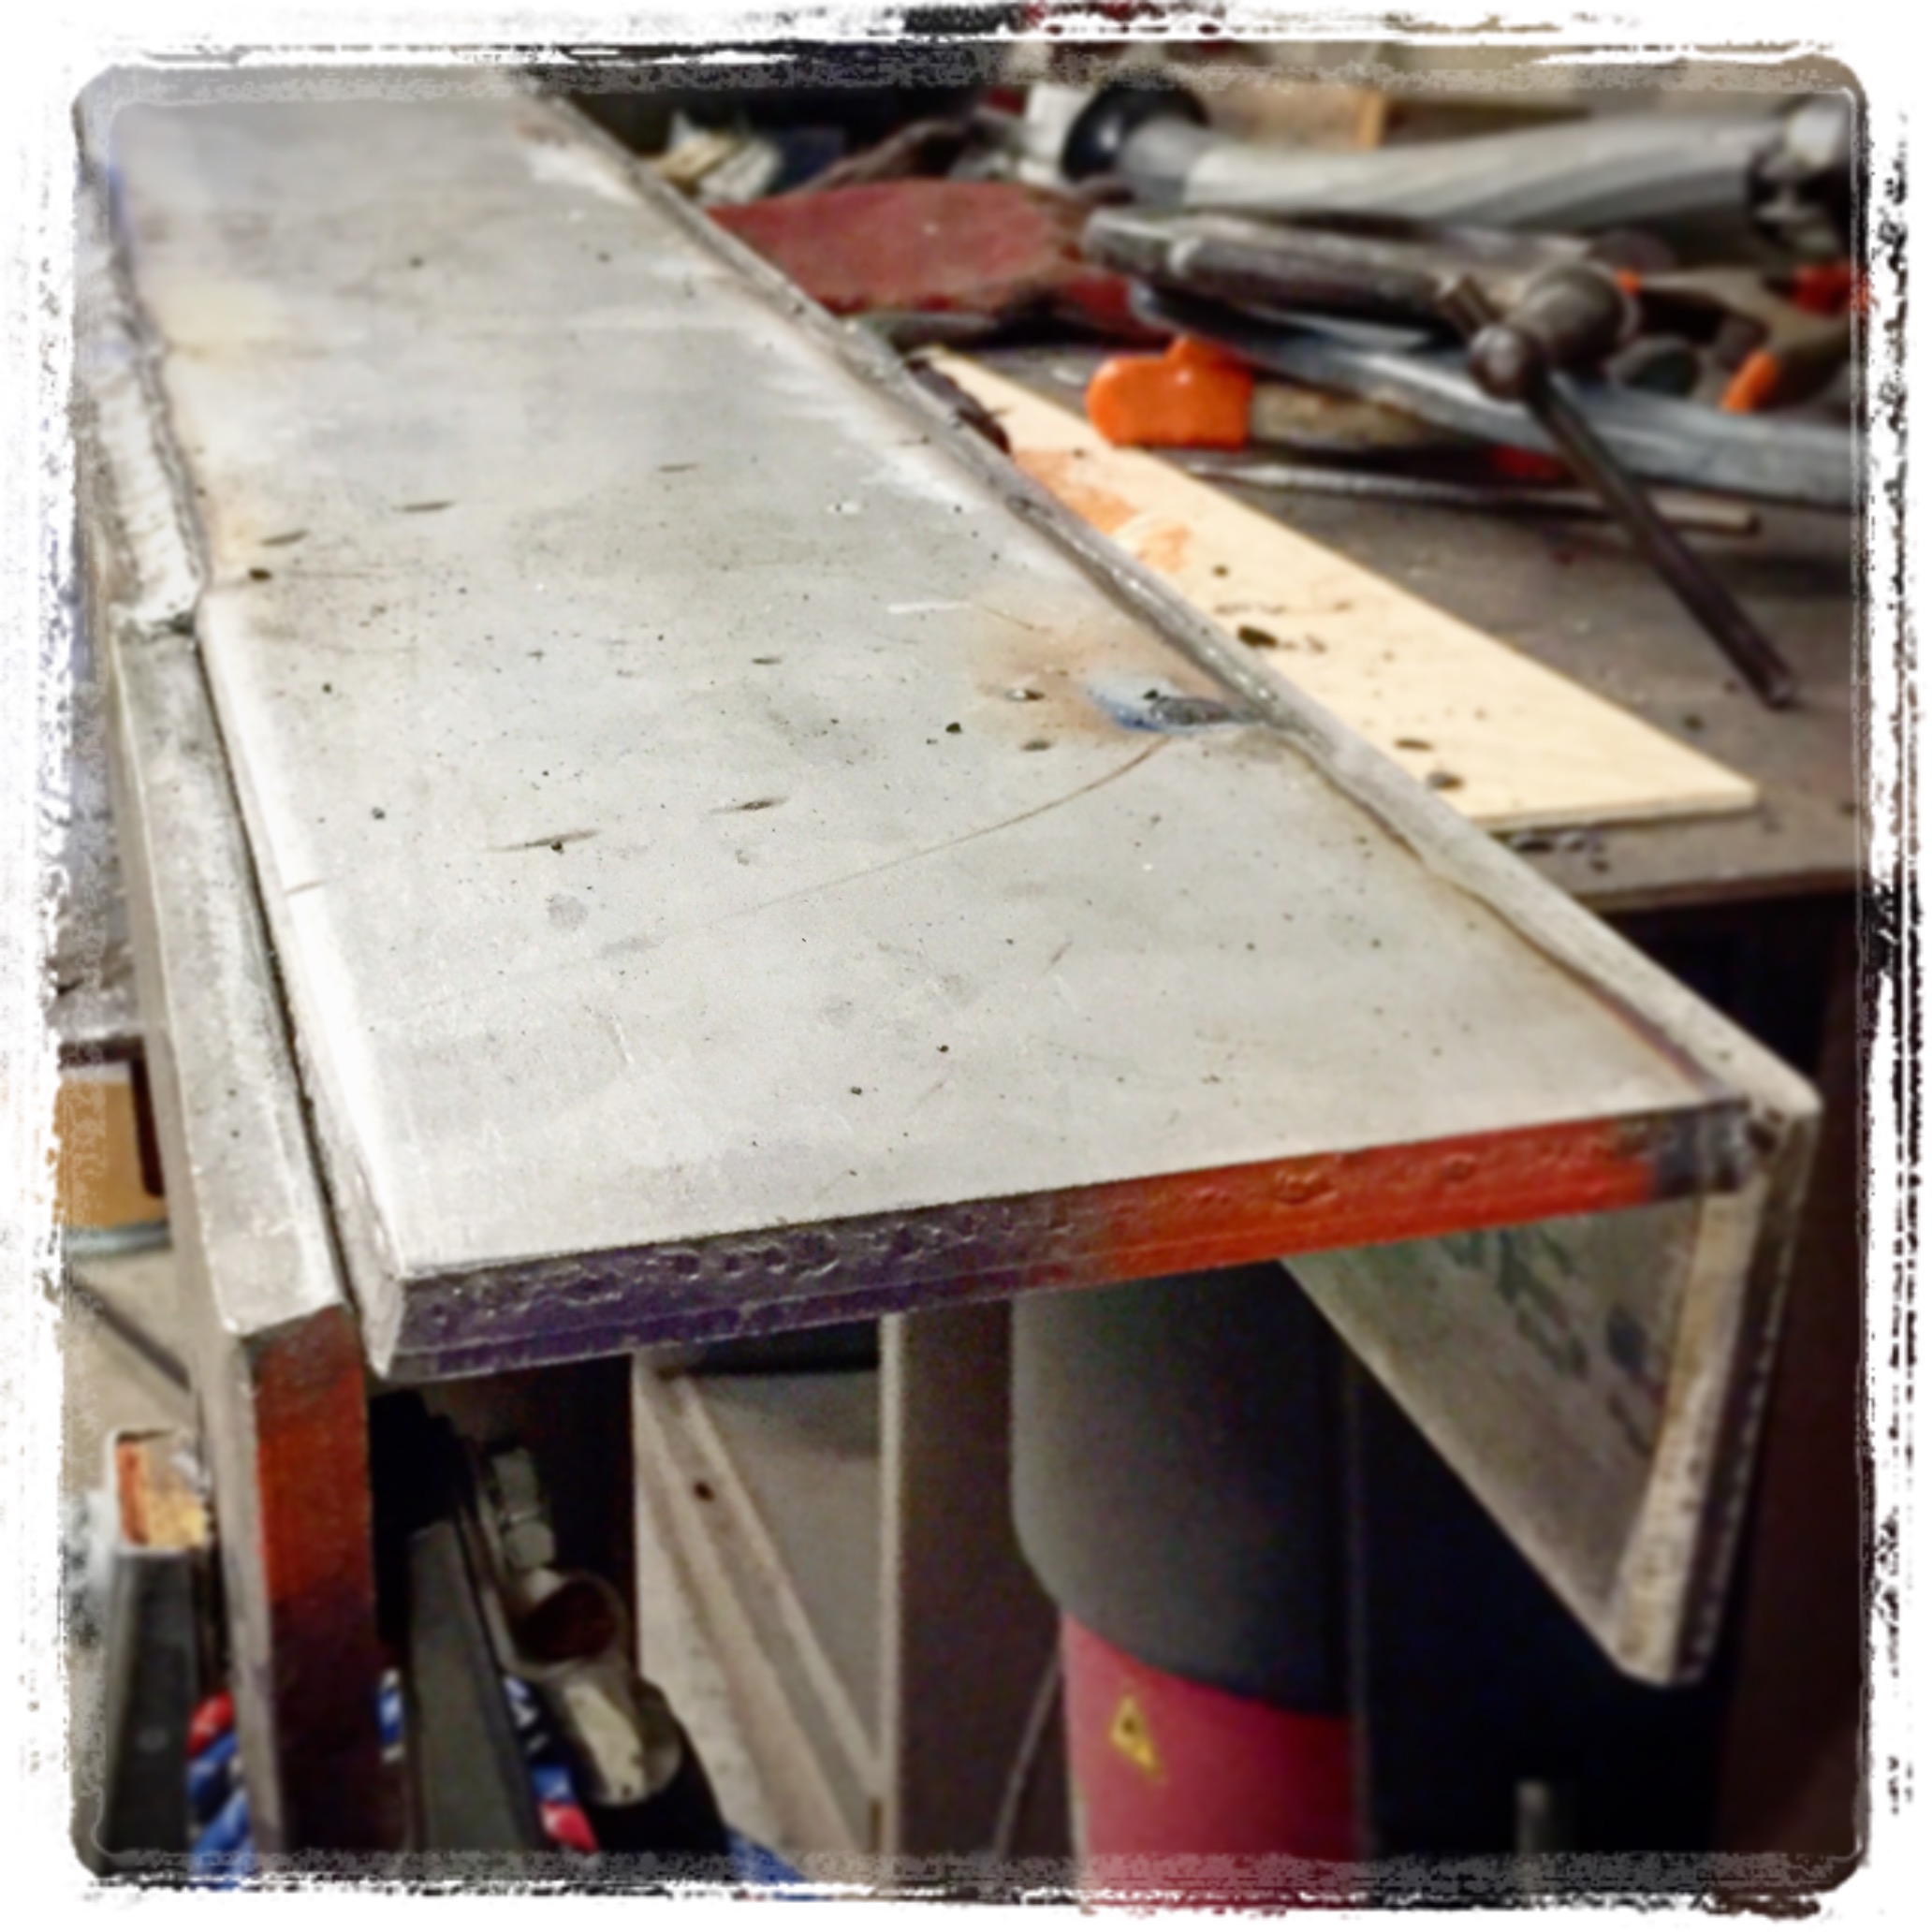
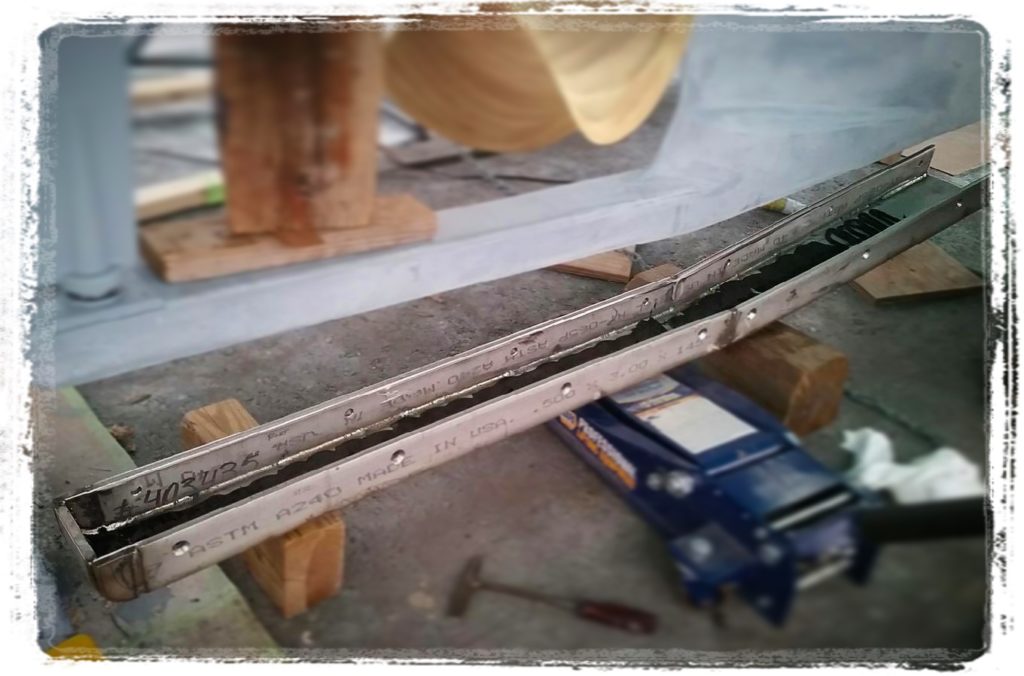
Matt then made templates and created an I-beam and bracketed panel out of G-10, a very strong epoxy-infused composite board. Together, these two pieces formed a skeleton for the new section of keel and skeg. This skeleton was sandwiched with Penske Board, a high-density, glass-reinforced, urethane foam board, and fastened to the bottom. Next, in preparation for the infusion process, Matt wrapped the entire piece in 1708 biaxial fiberglass layers and reinforced all with Kevlar cloth.
“The job called for a 12-ply layup schedule,” said Trevor. “Then we vacuum-infused the entire piece in place using Proset INF-114 Infusion Epoxy, which has the ability to make a strong and lasting secondary bond with a boat’s original polyester resin. By utilizing a vacuum infusion process, Matt was able to control the amount of epoxy being saturated into the fiberglass cloth and ensure a consistent product, free of voids. After removing the vacuum bag, the keel and skeg were faired and barrier coated and the bottom was coated with antifouling paint.”
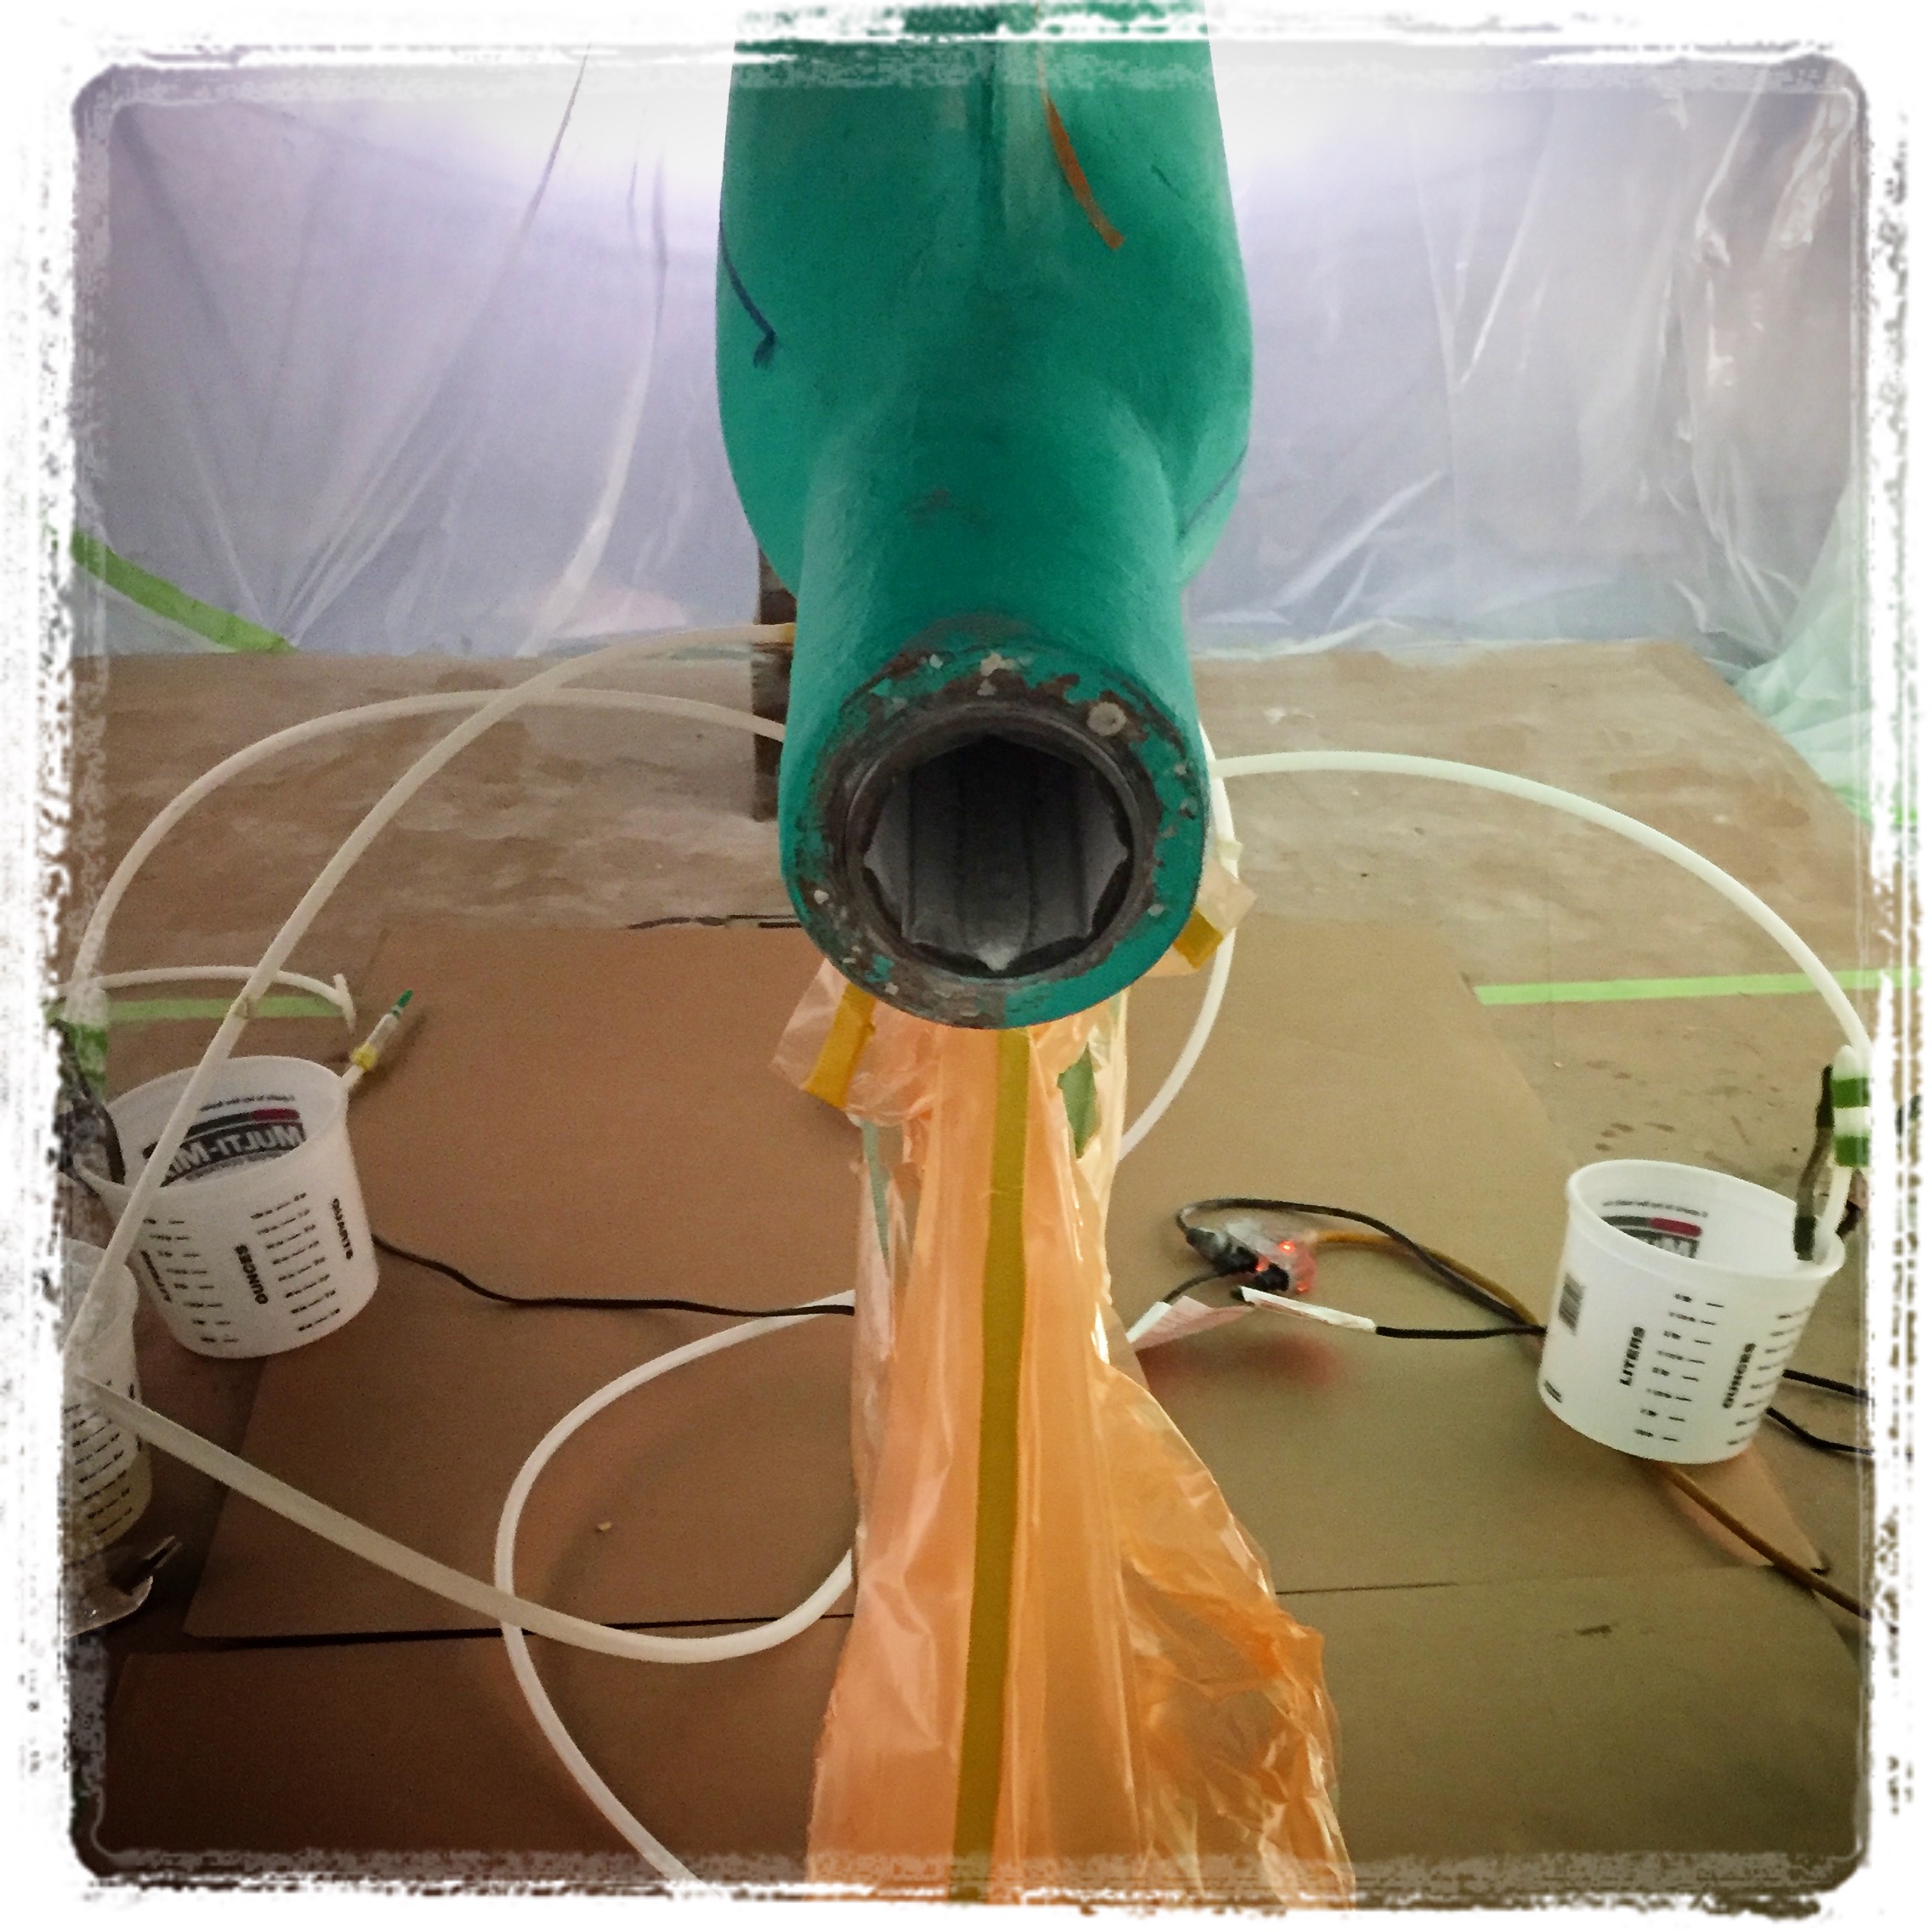
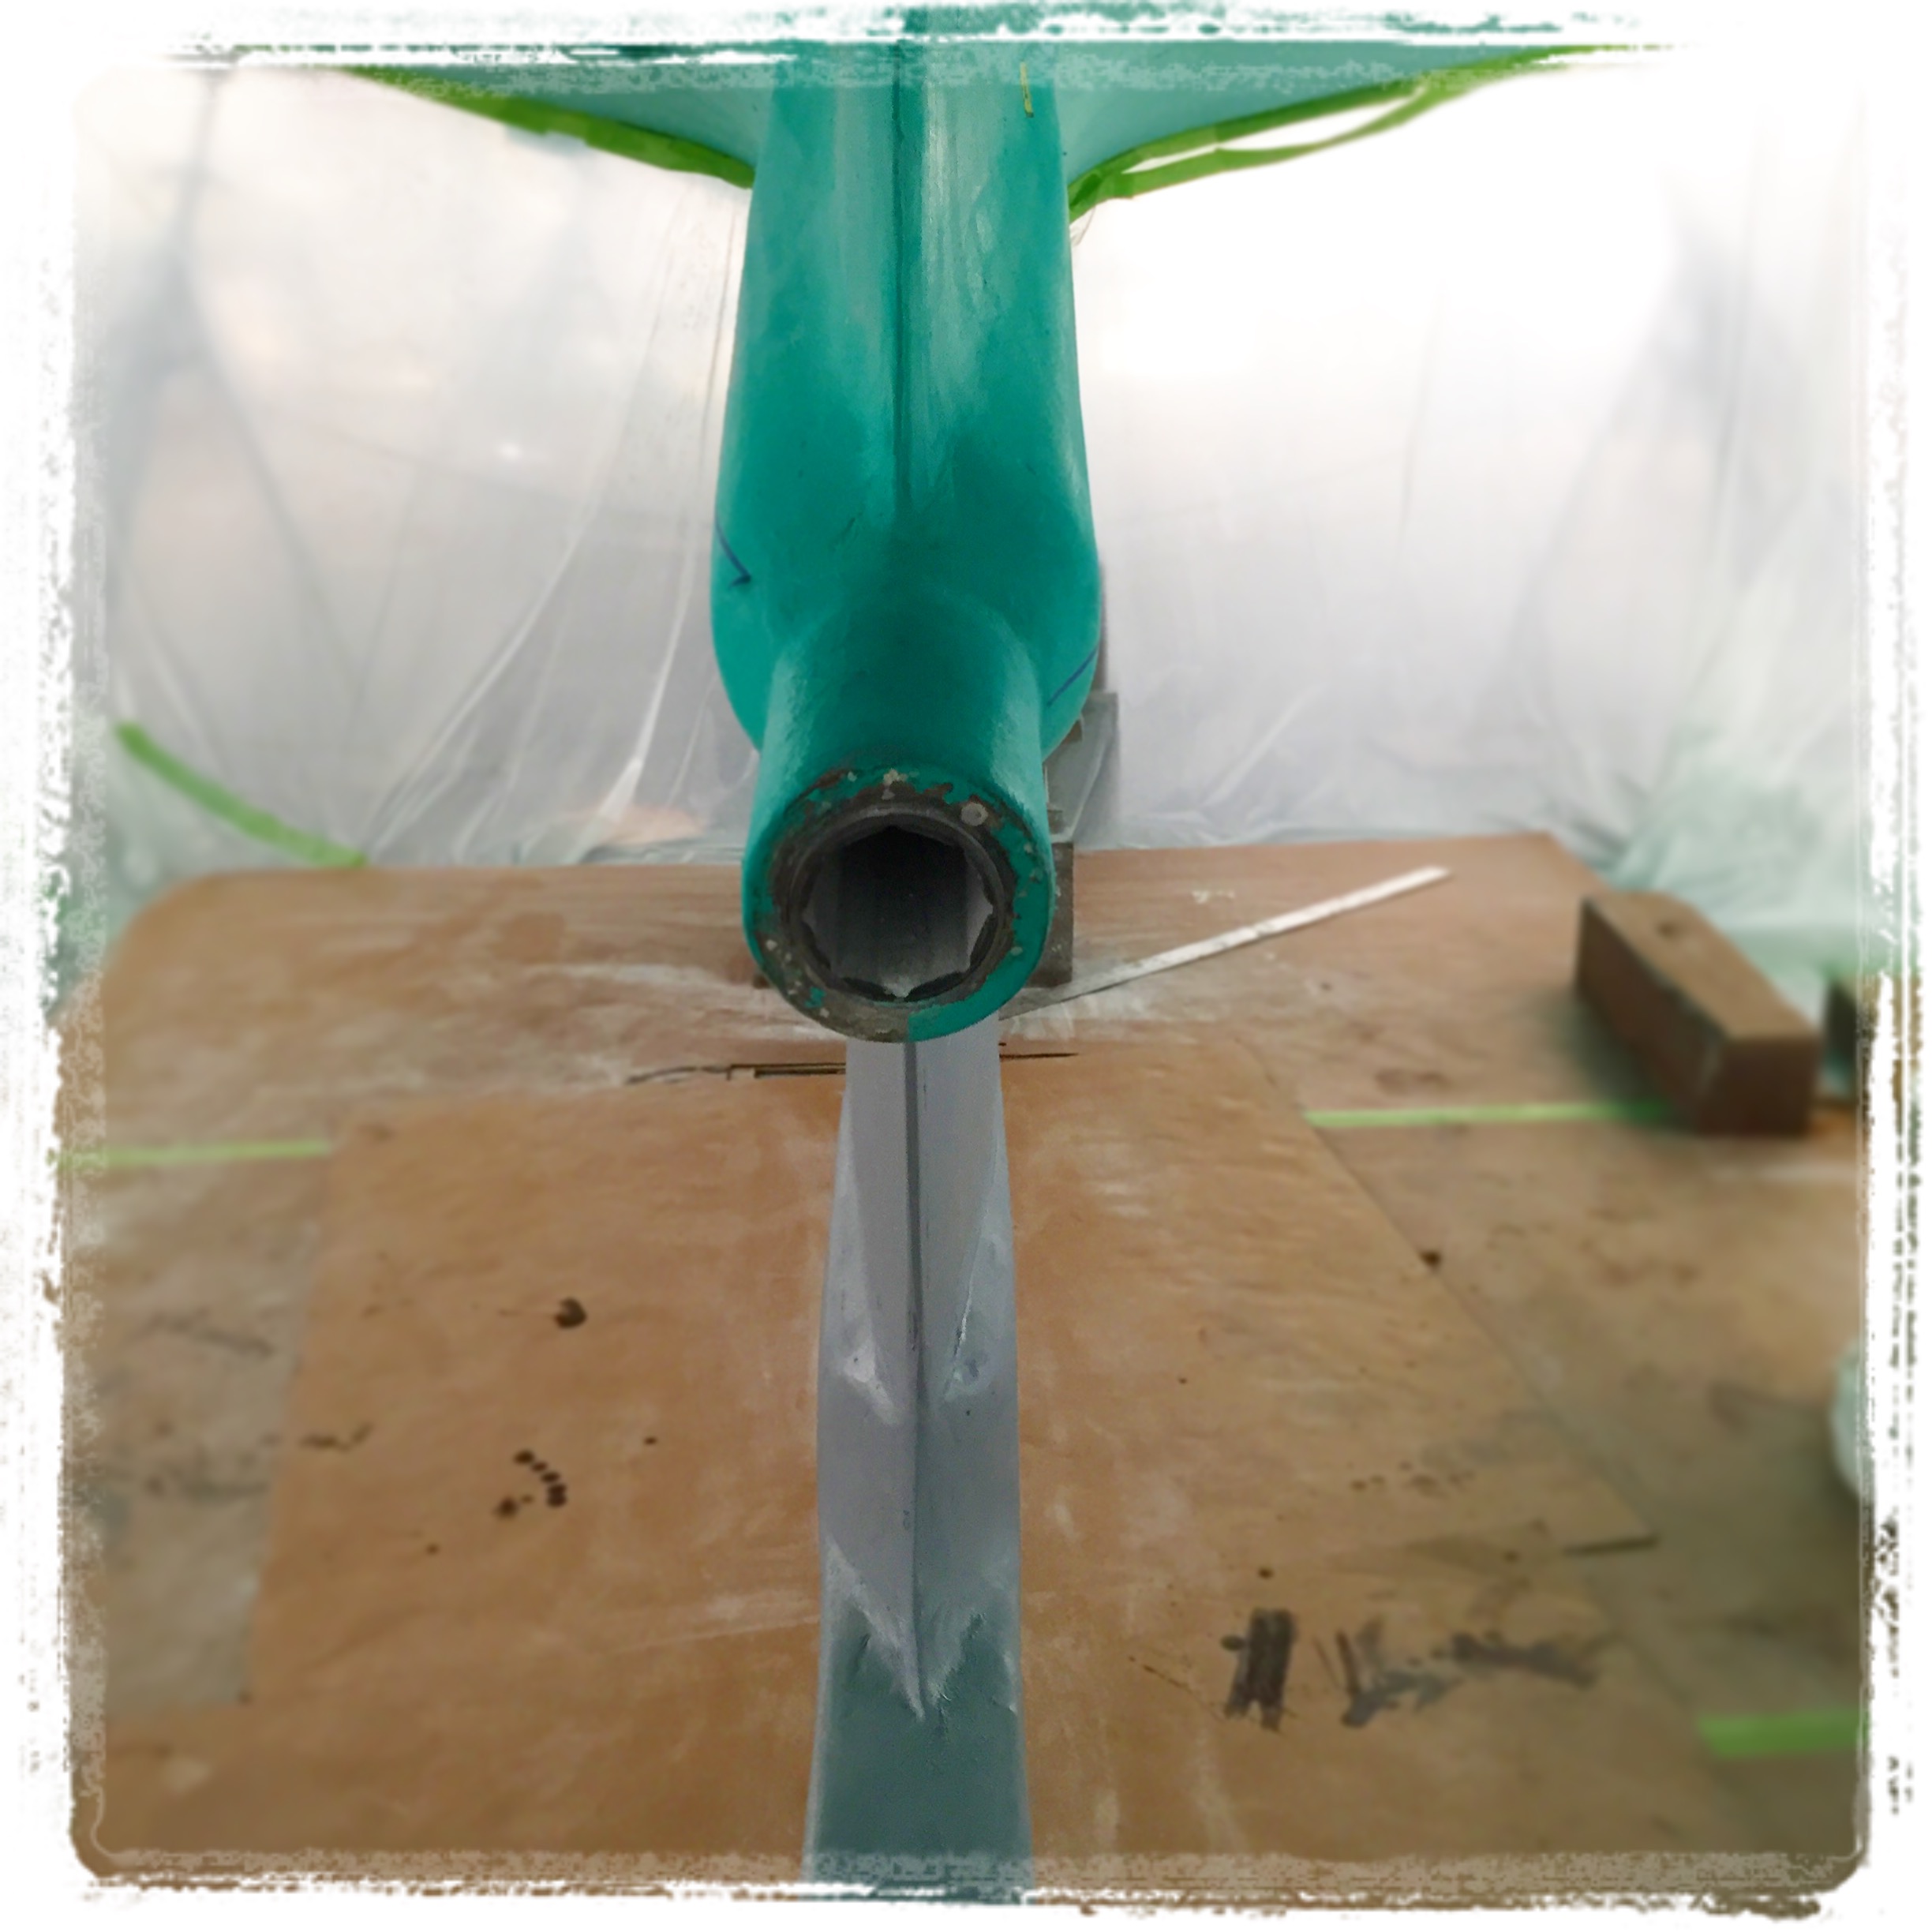
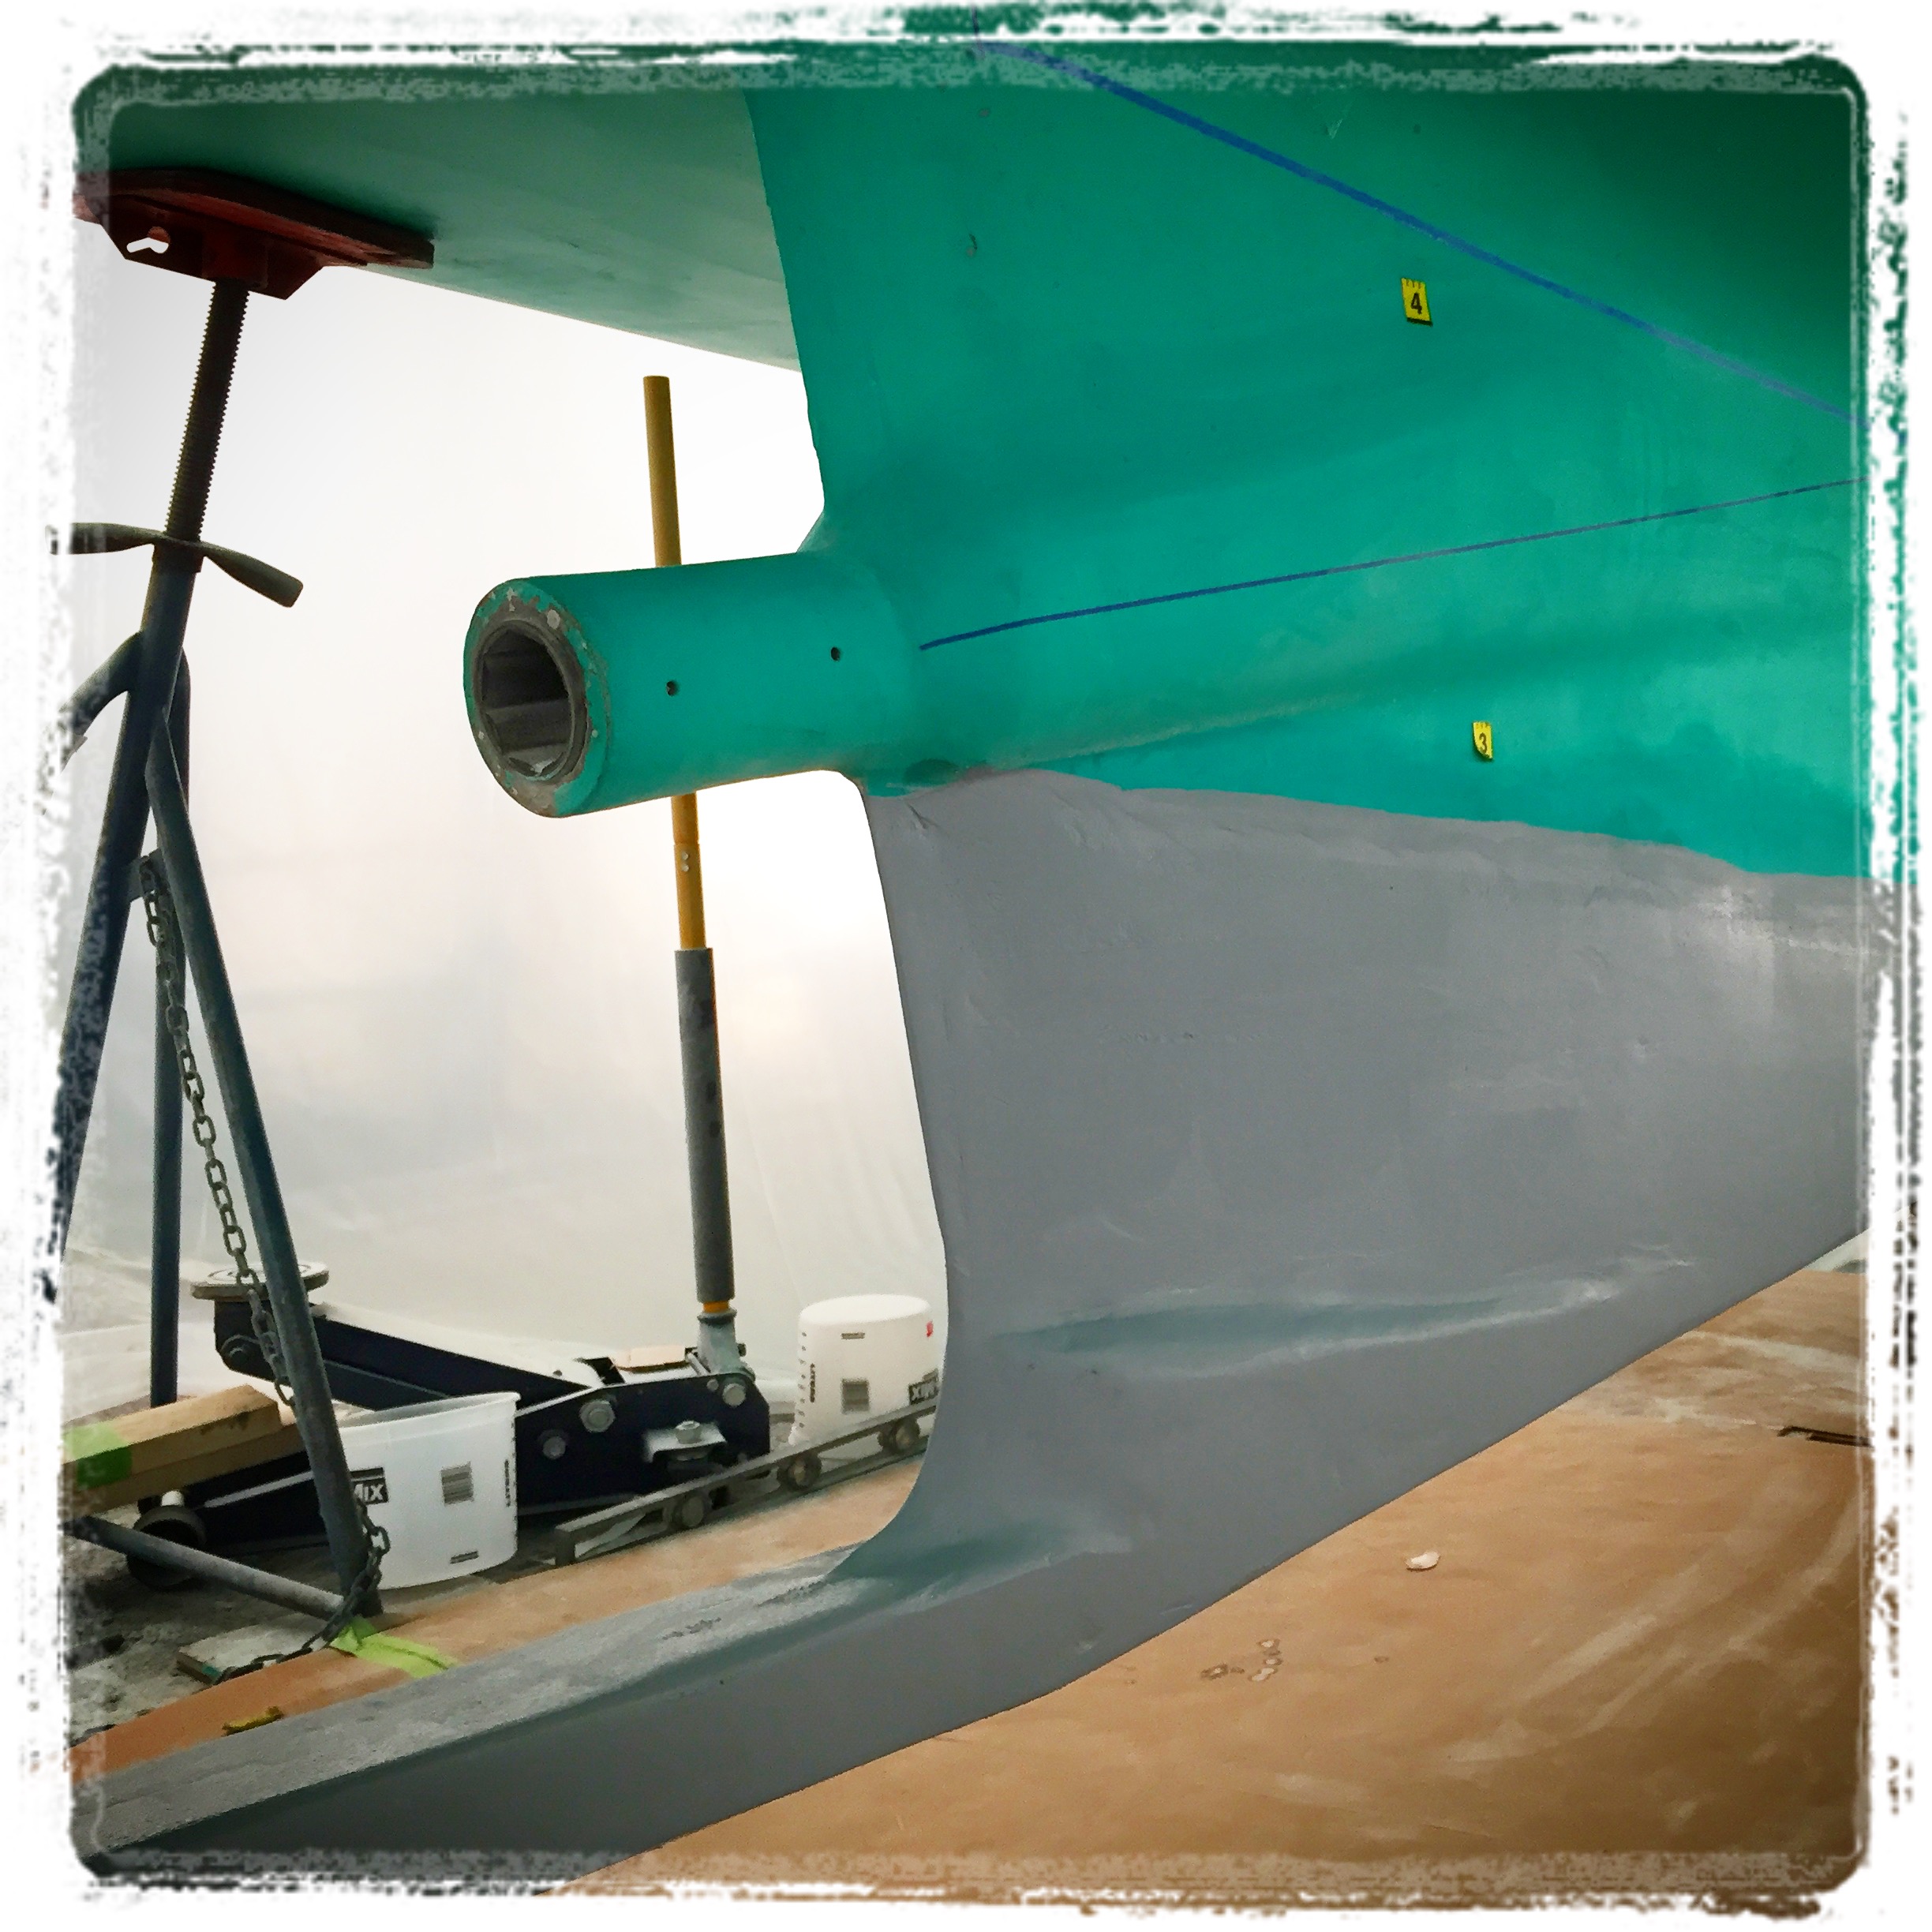
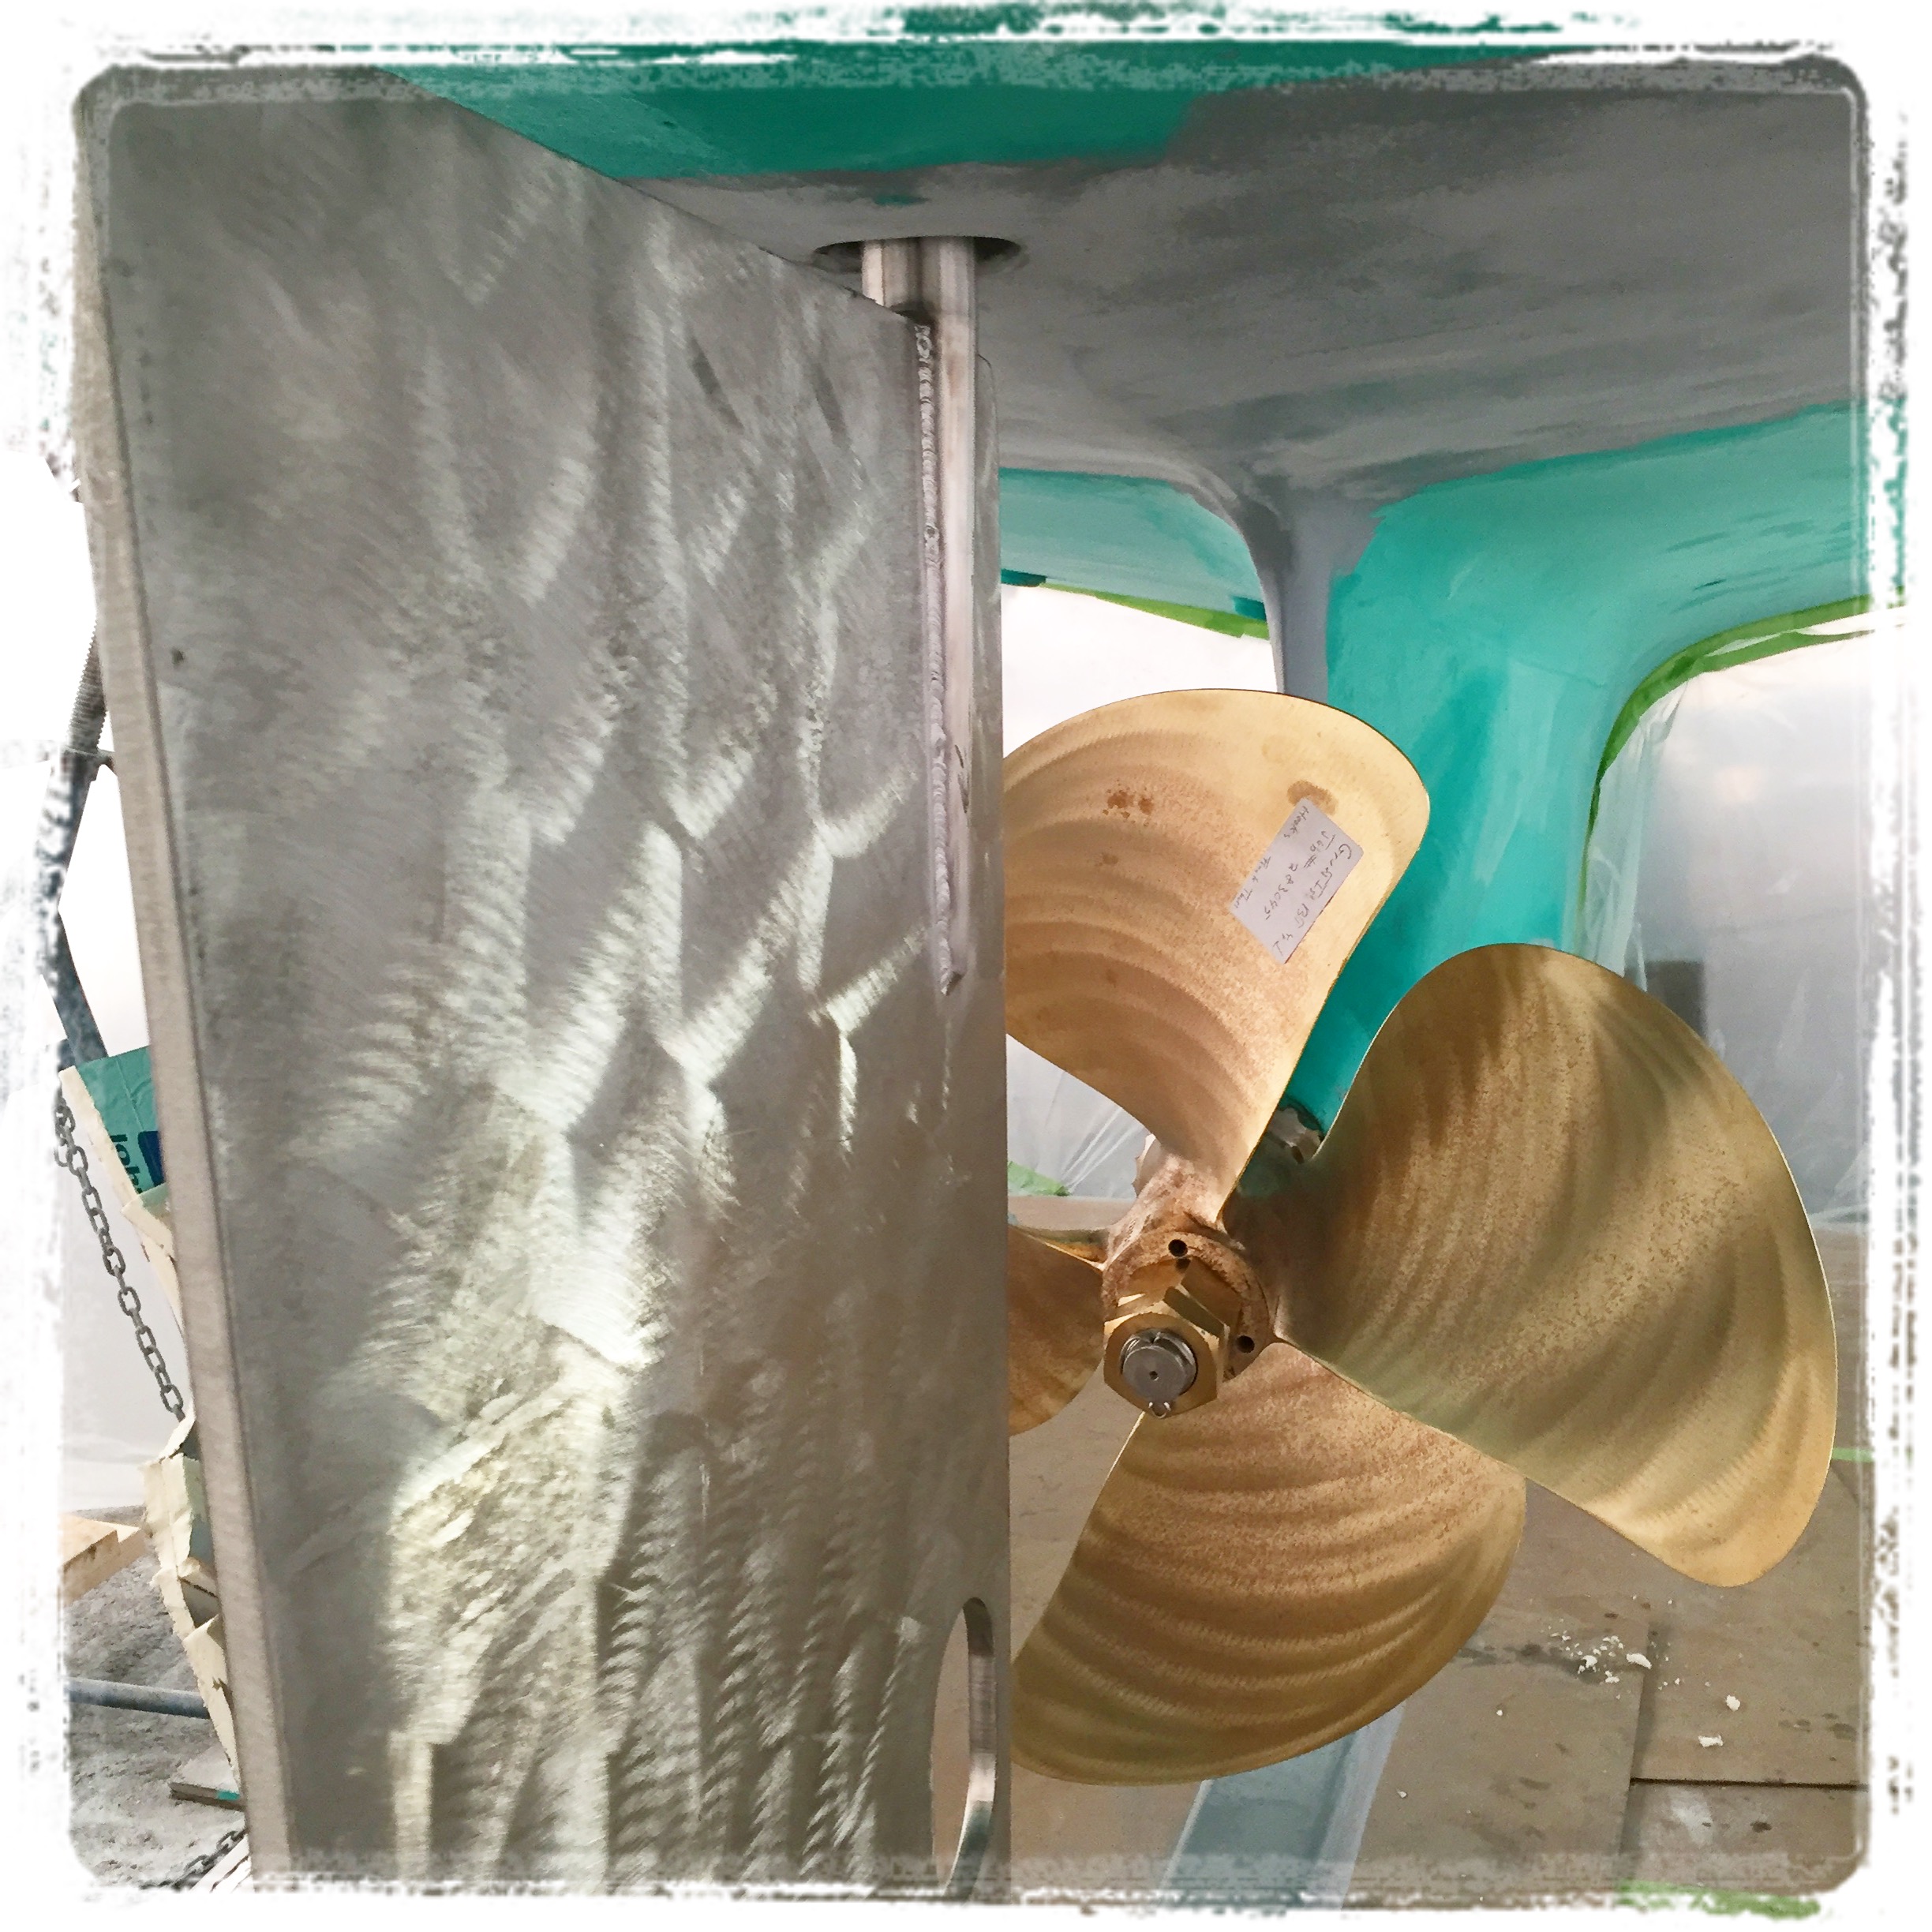
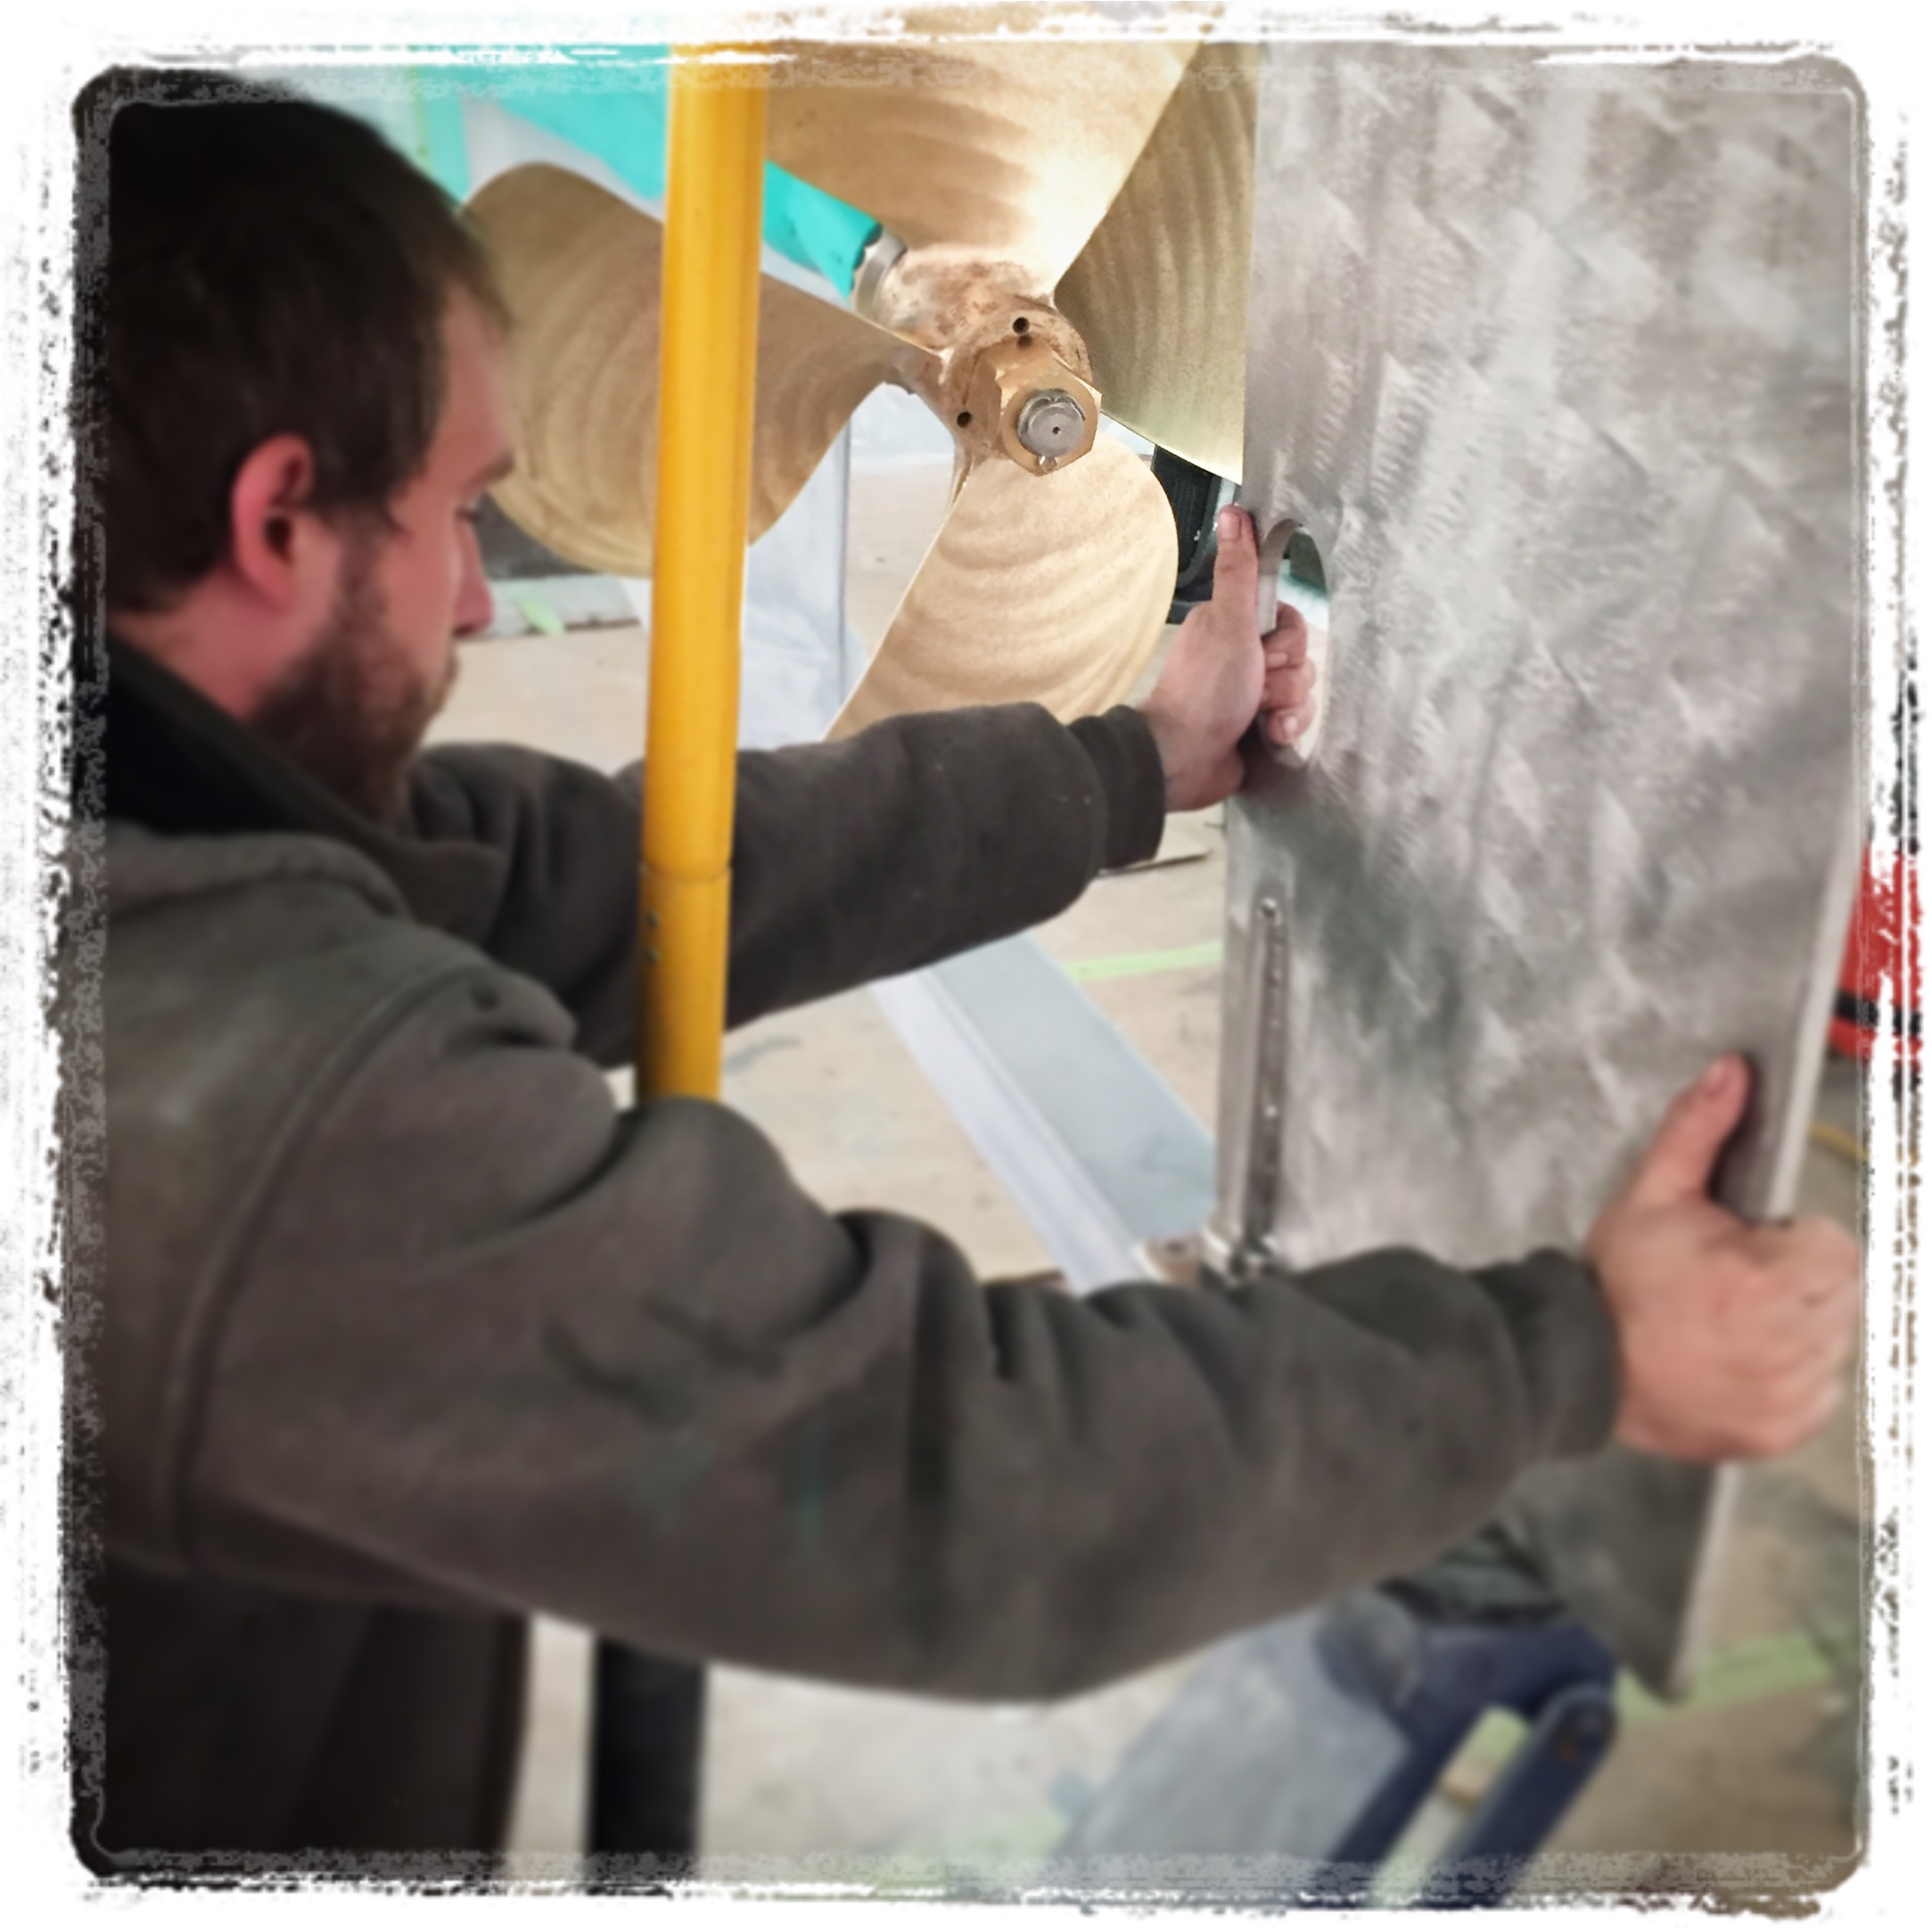
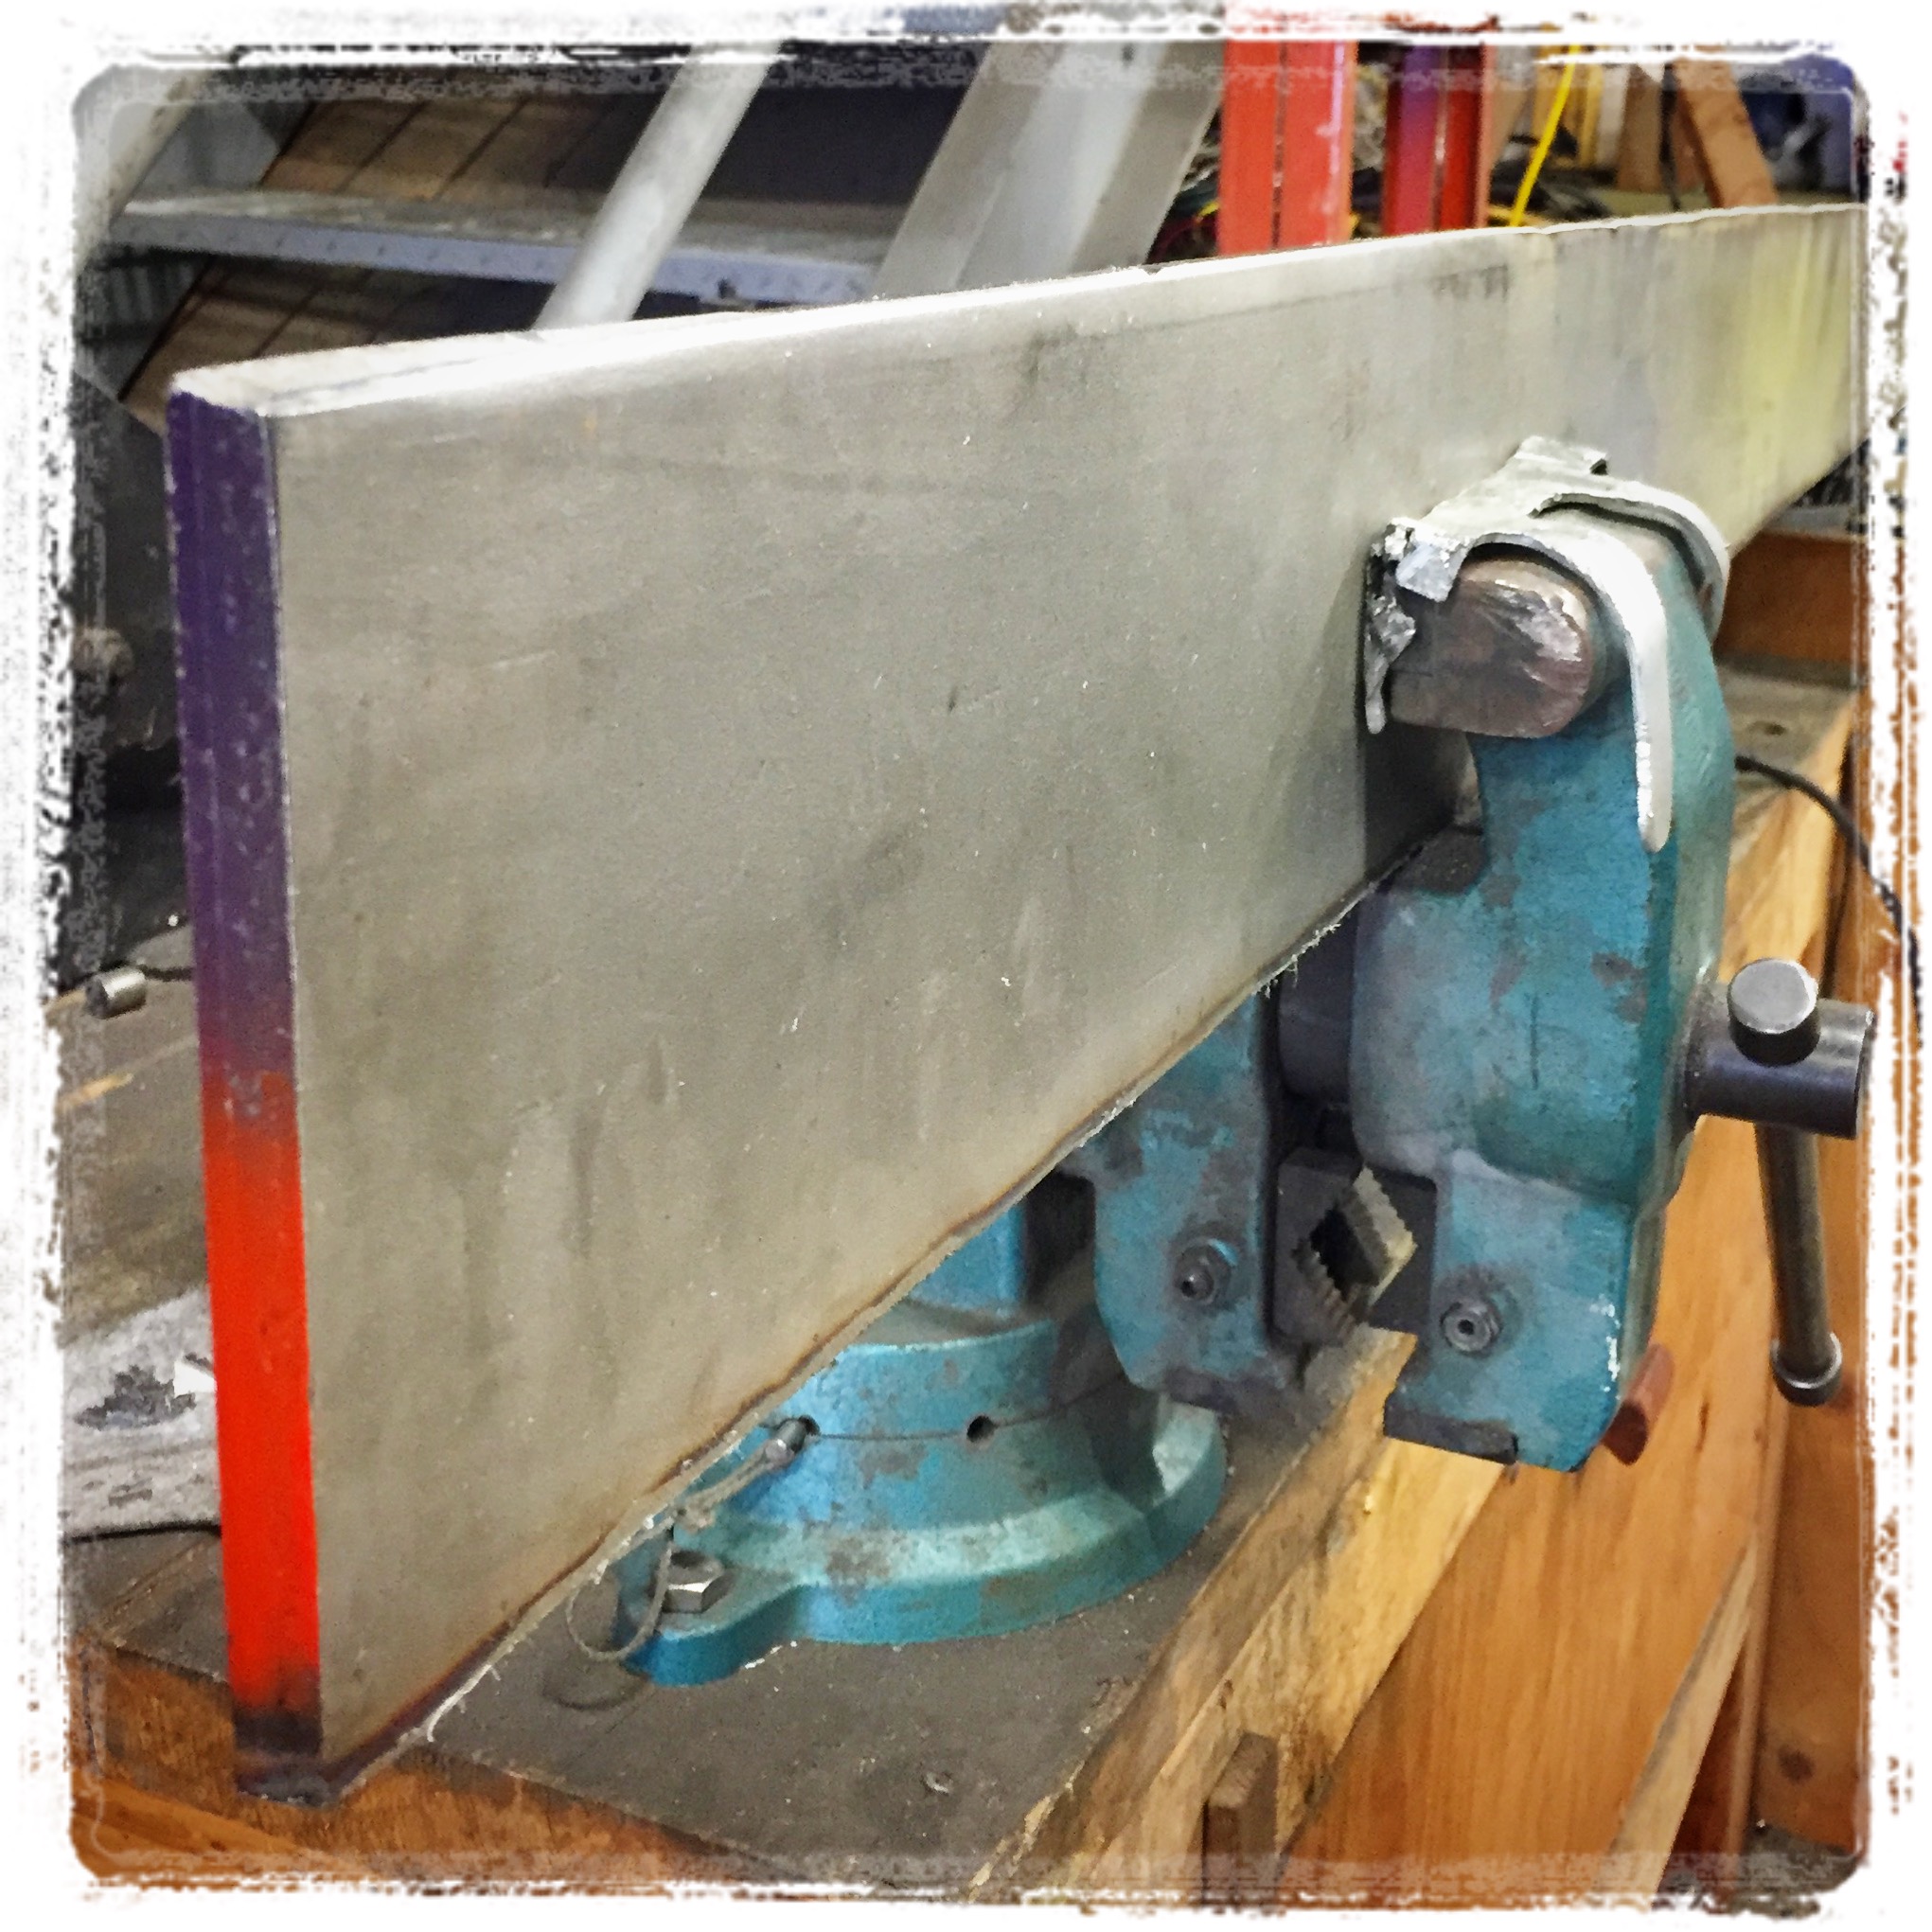
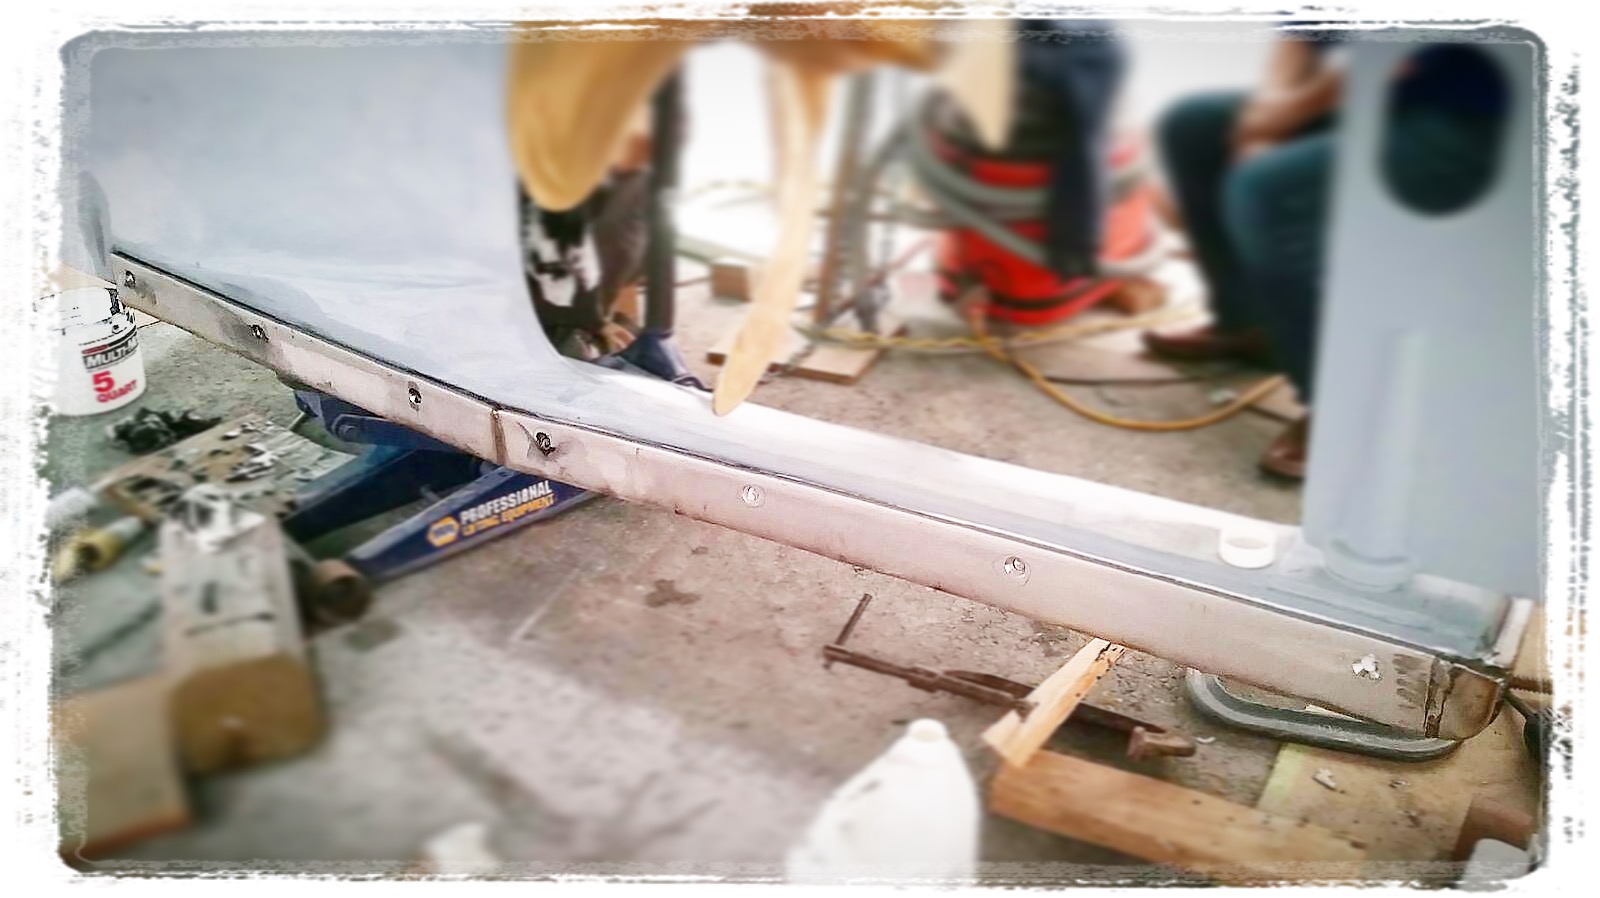
The final step in returning the keel and skeg to its full-strength was to fabricate and install a new stainless steel keel shoe. In the GIBY Rig Shop, John skillfully scarfed and sculpted three pieces of ½” stainless to fit the keel. These were joined, then drilled, tapped, and bedded in place to stiffen the skeg and offer extra protection in the (unlikely) event of a future grounding.
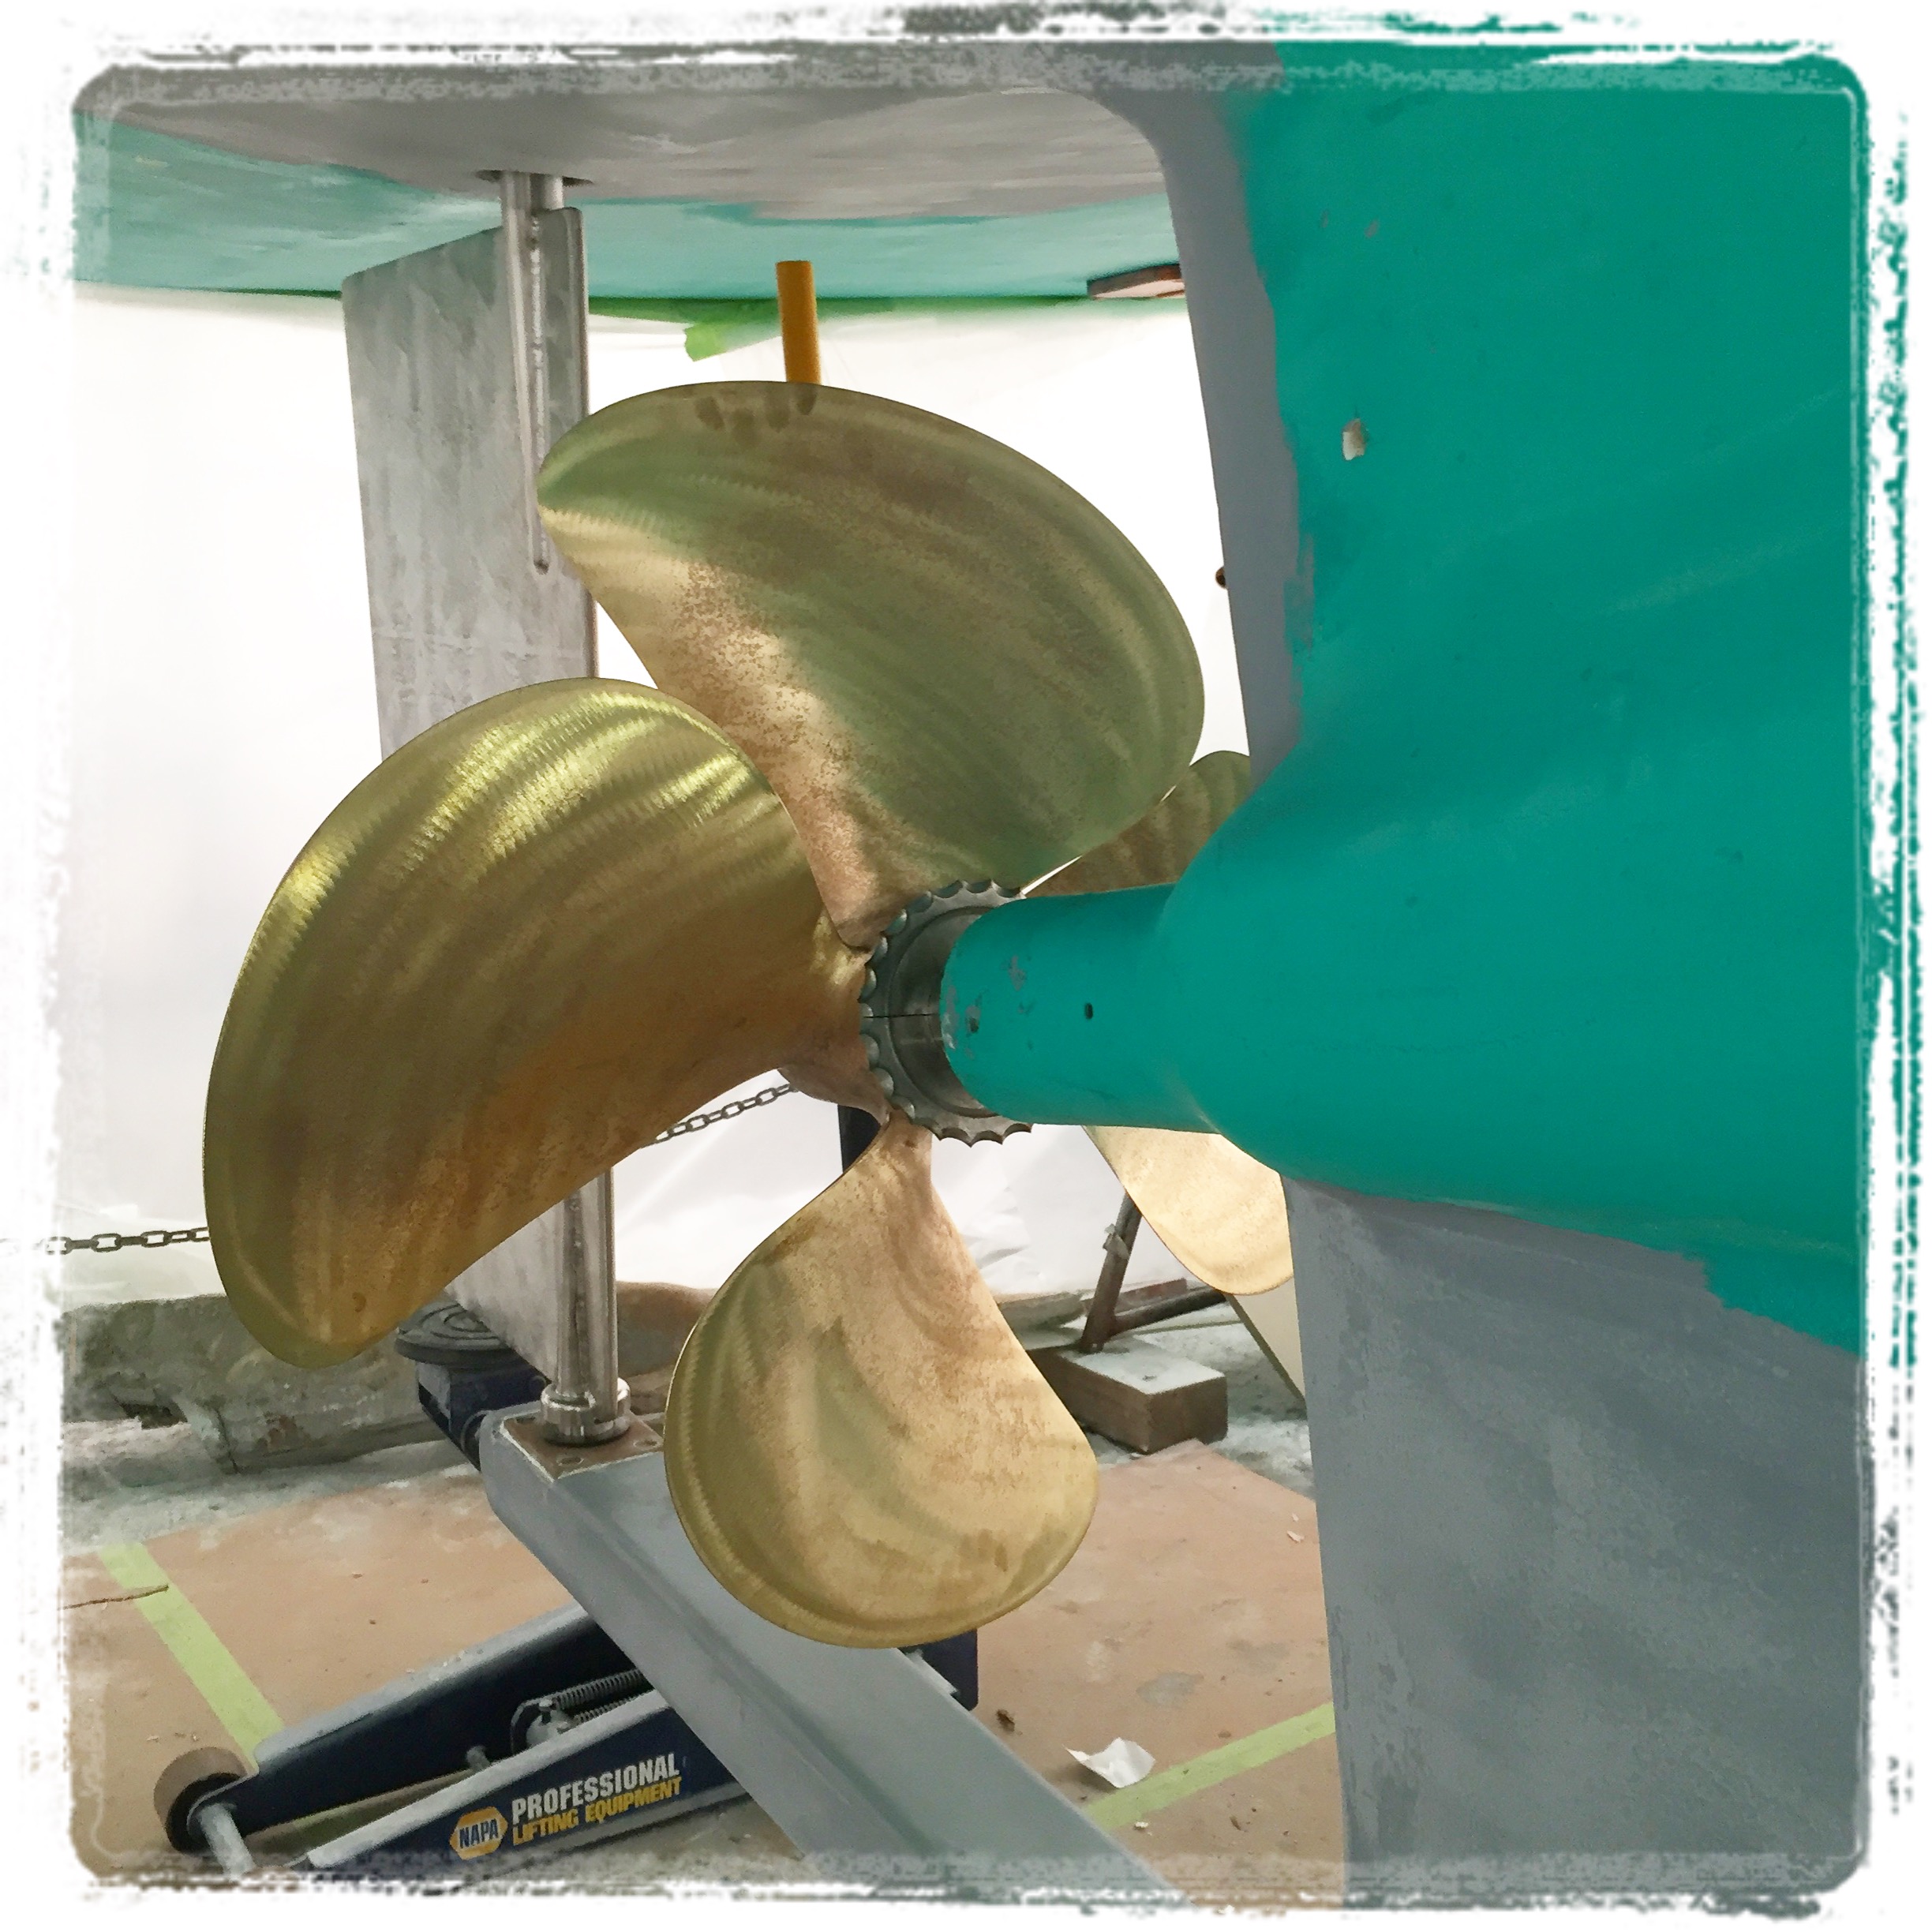
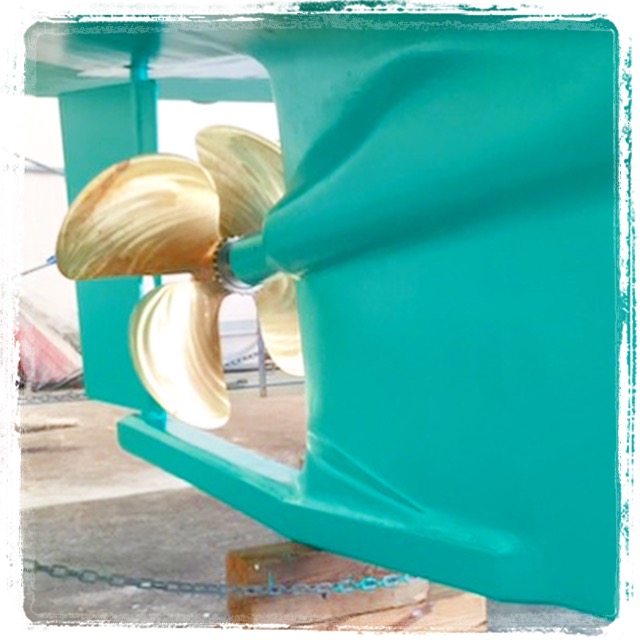
While Matt and John worked on making the bottom like-new again, the boat’s steering system was disassembled, inspected, and repaired. The prop was reconditioned and a new stainless steel rudder was fabricated and hung.
“After reviewing the repairs and sea trialing the boat, I was very pleased with the work done by GIBY, and the speed at which it was completed,” said David. “When I put her to bed for the winter, it gave me great peace of mind to know that the repairs were done and she was ready to go for next season.”

Great work as always by Great Island!
Thanks, Bill!